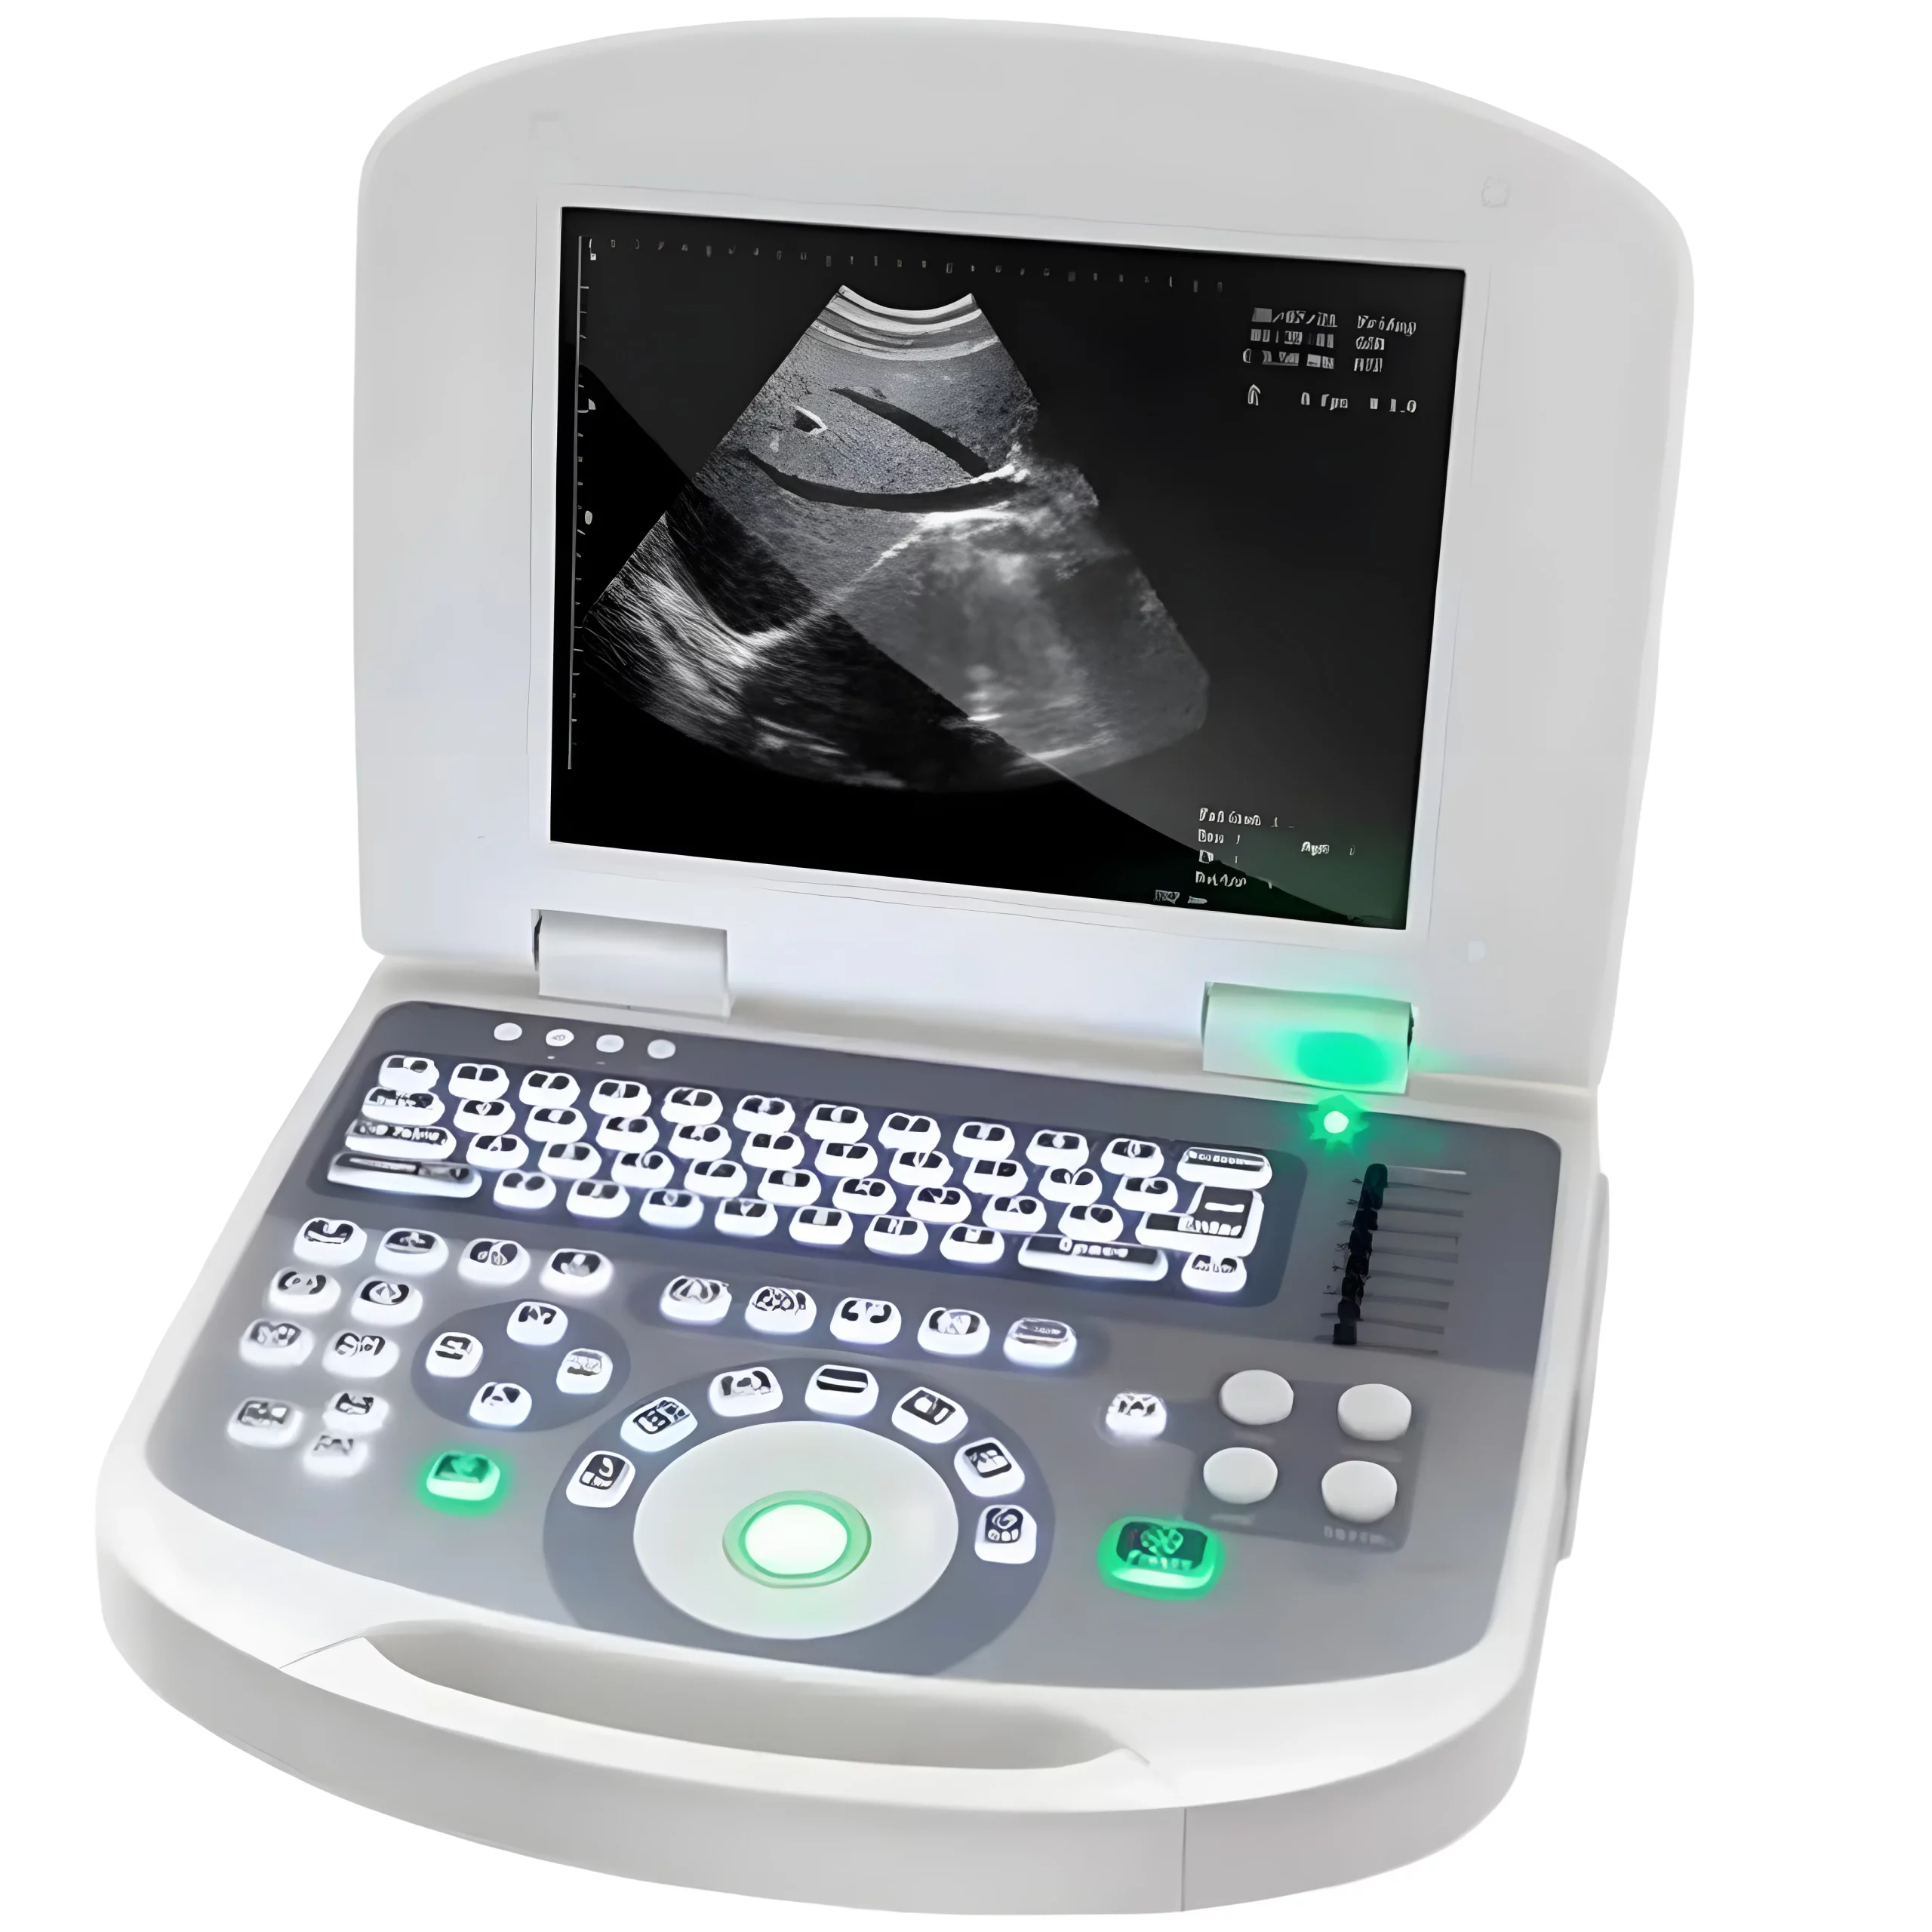
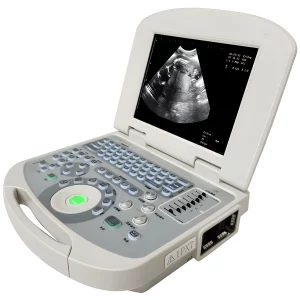
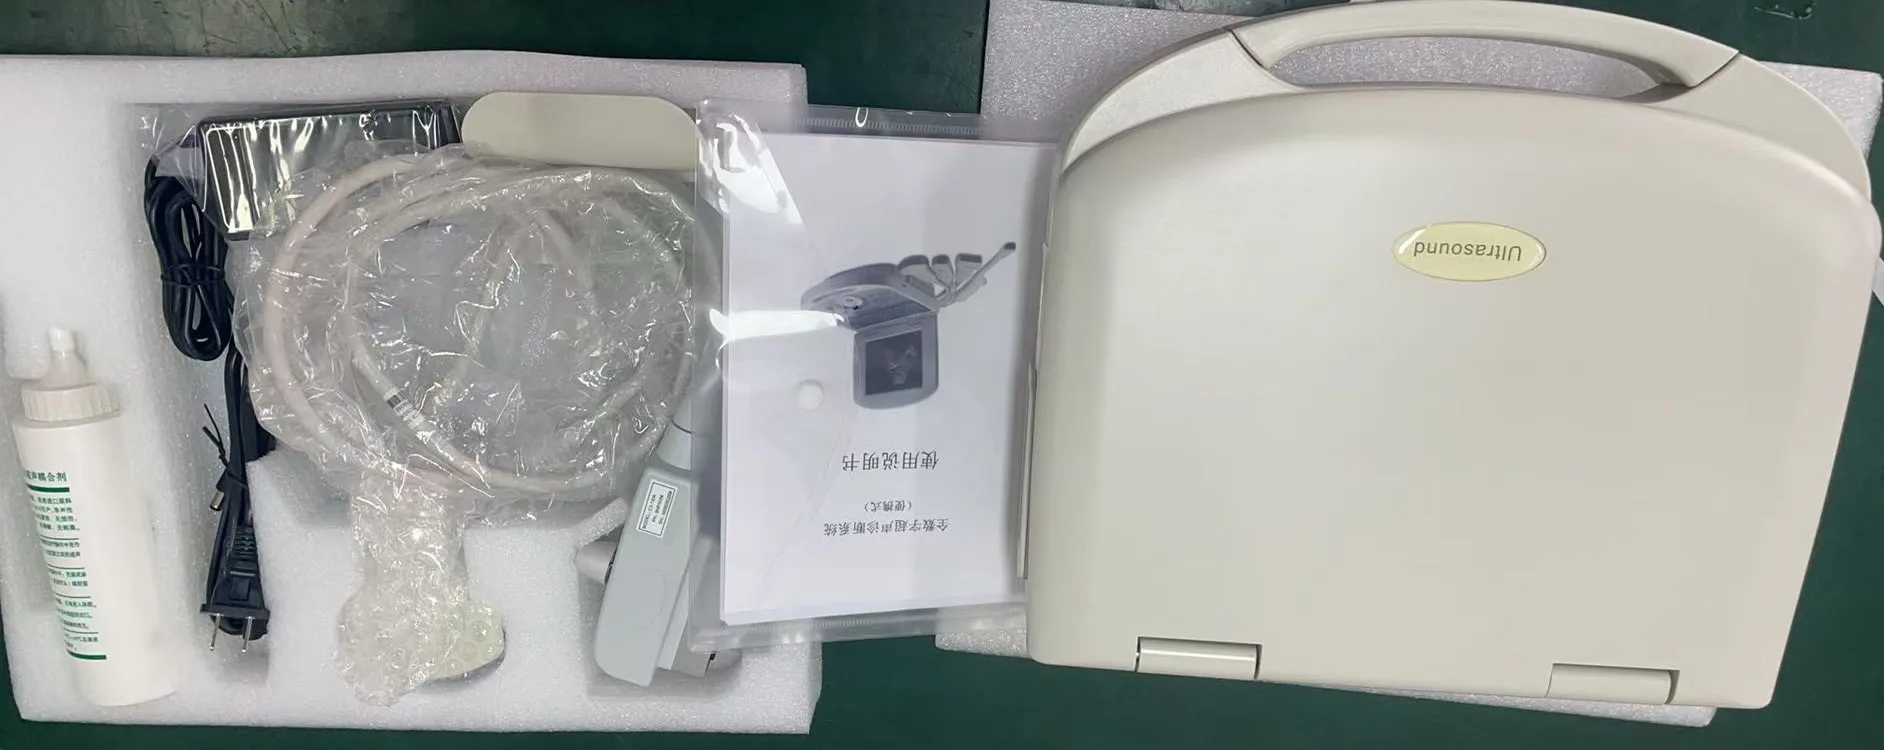
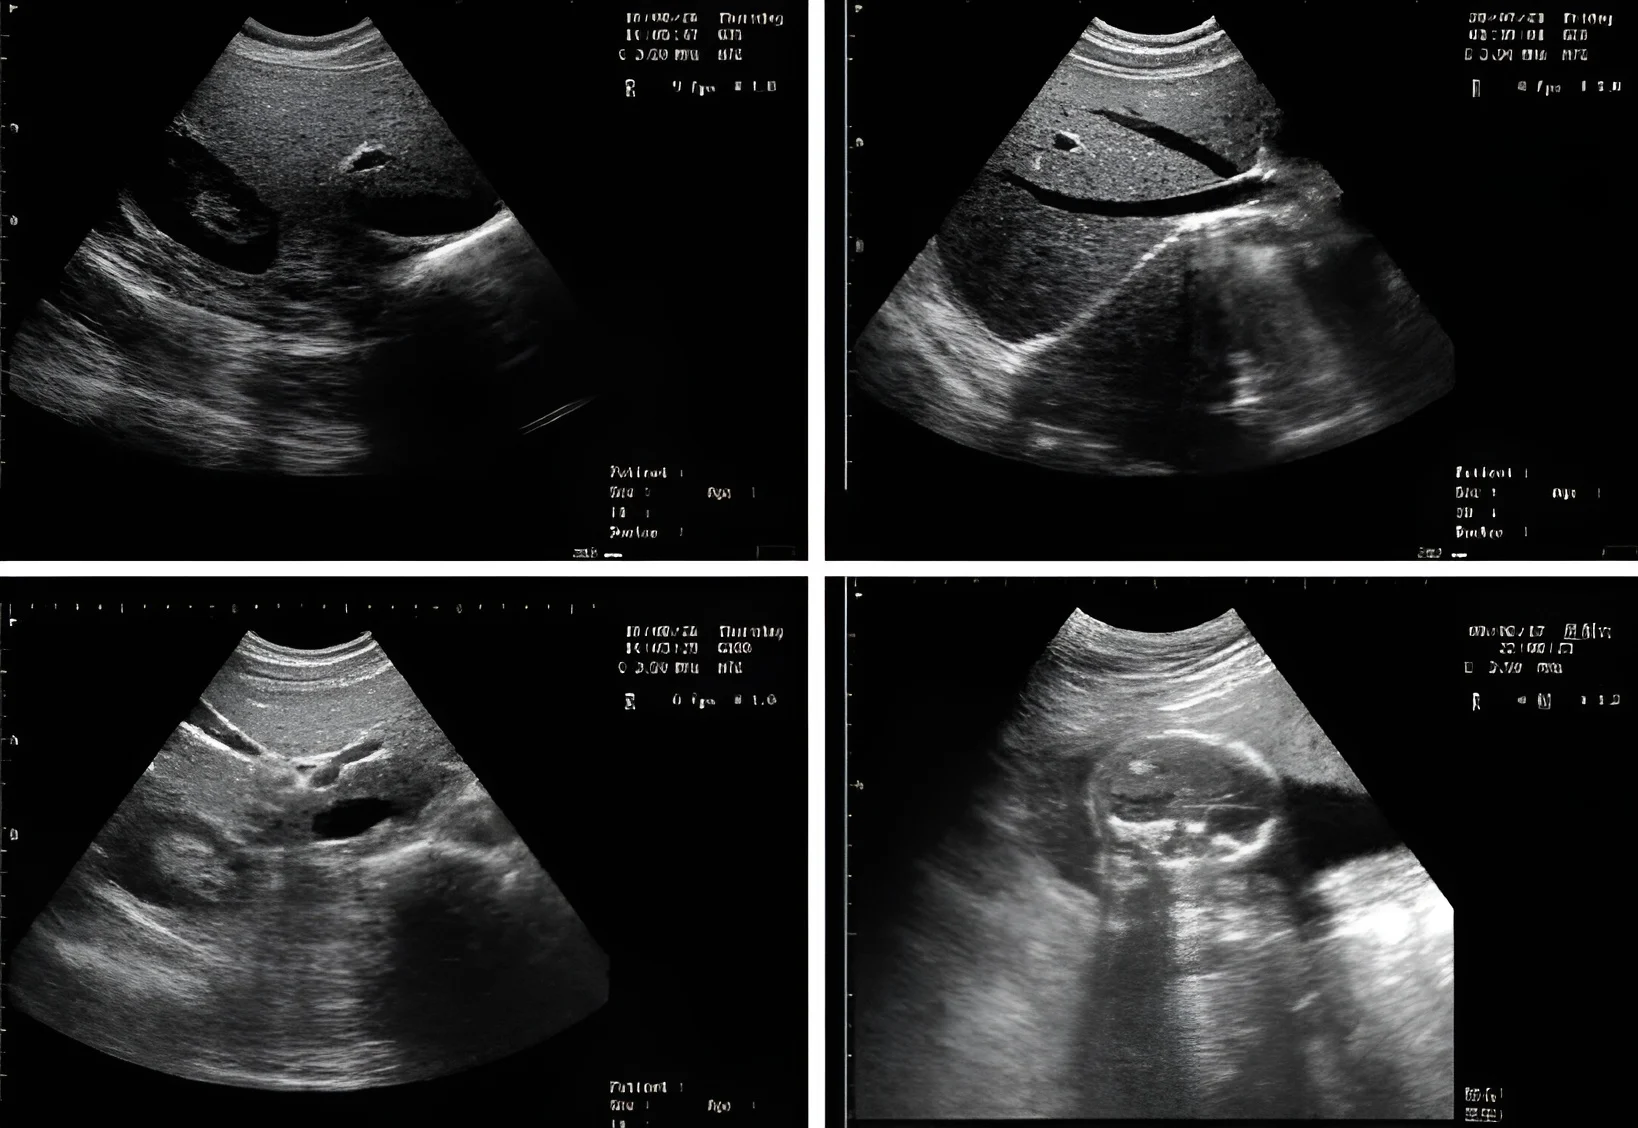
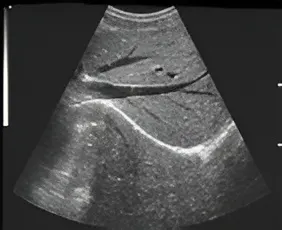
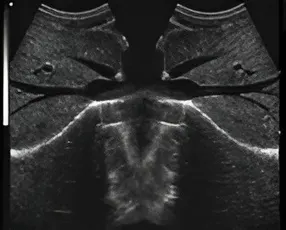
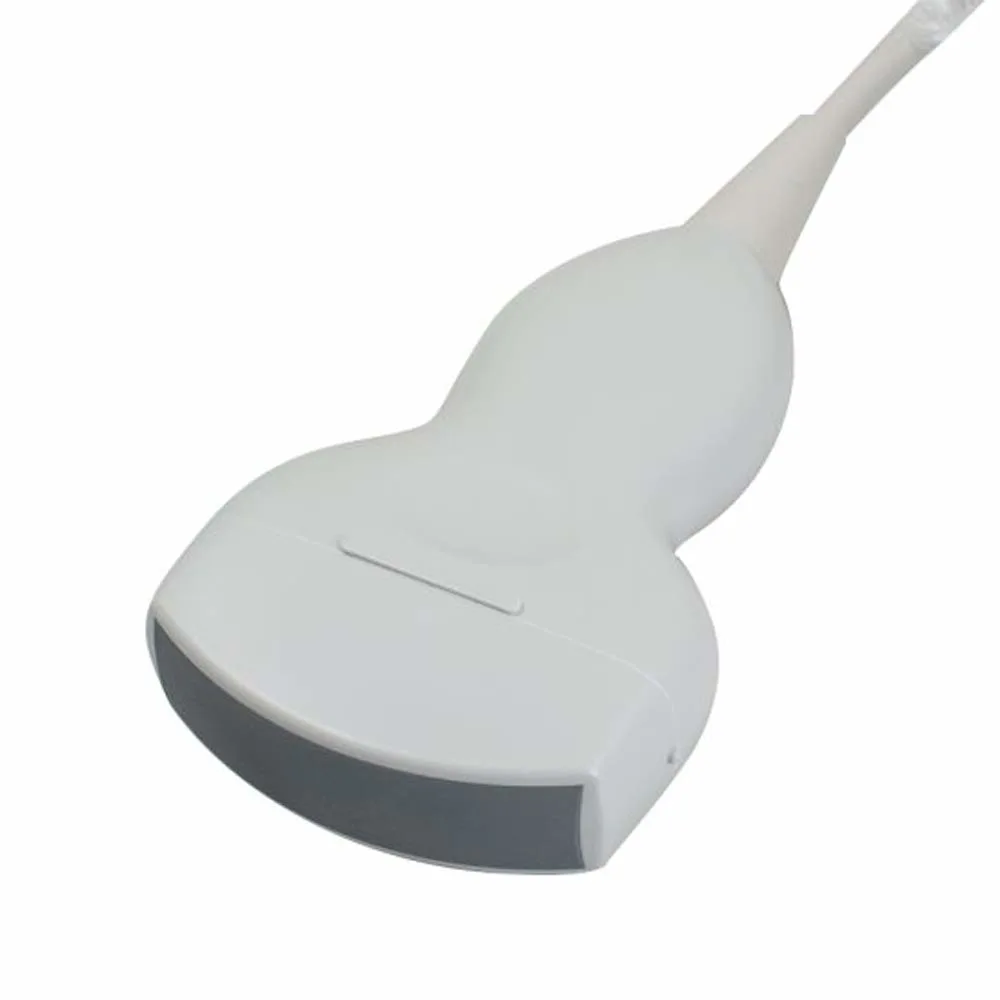
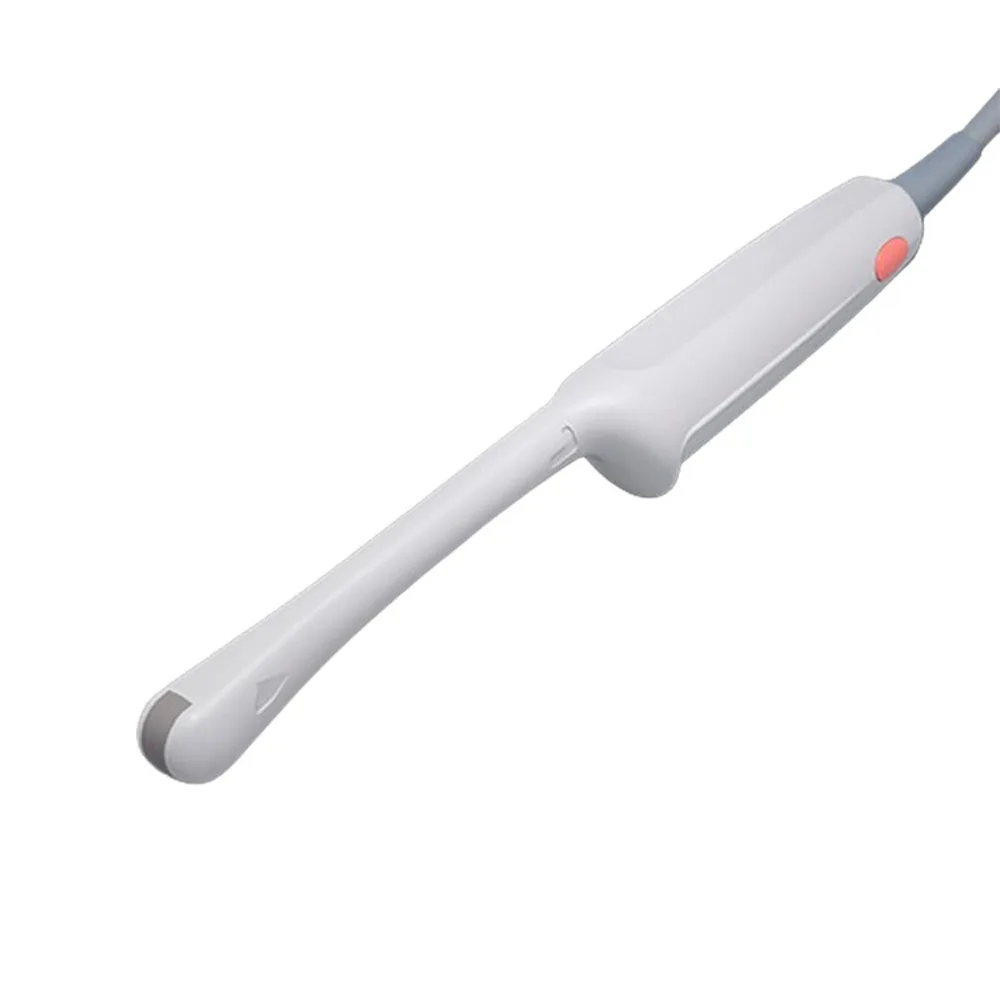
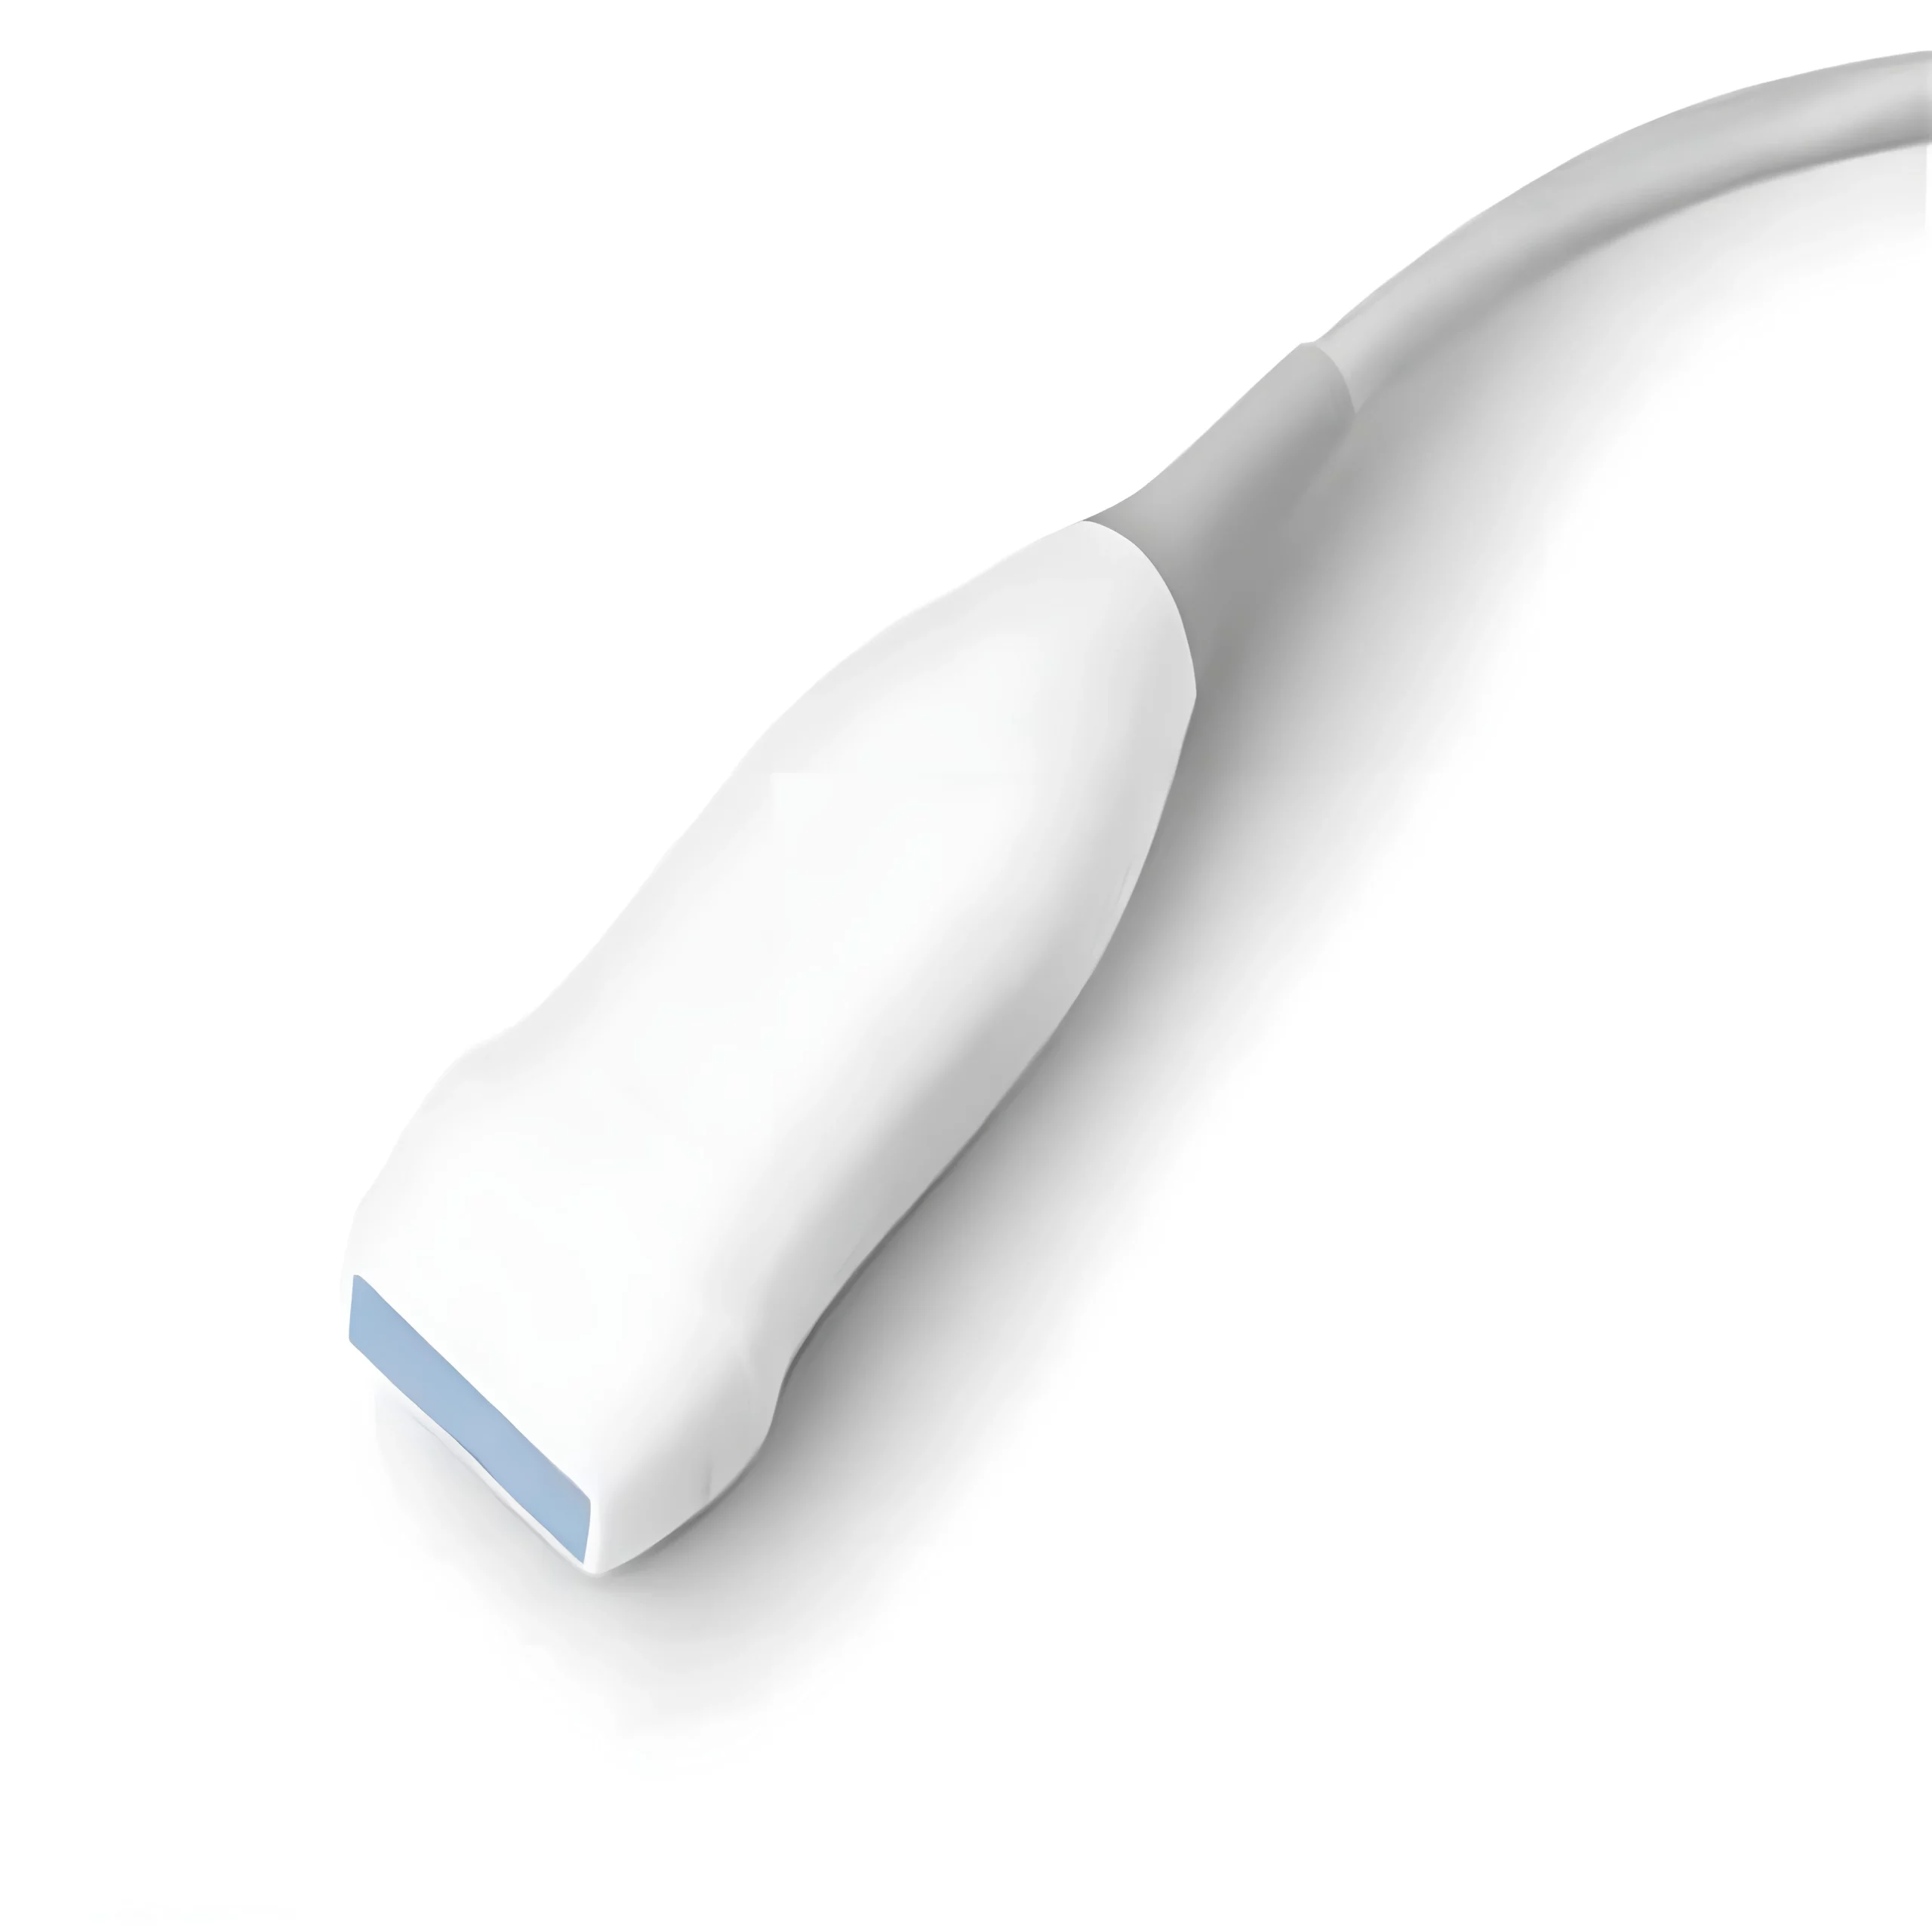
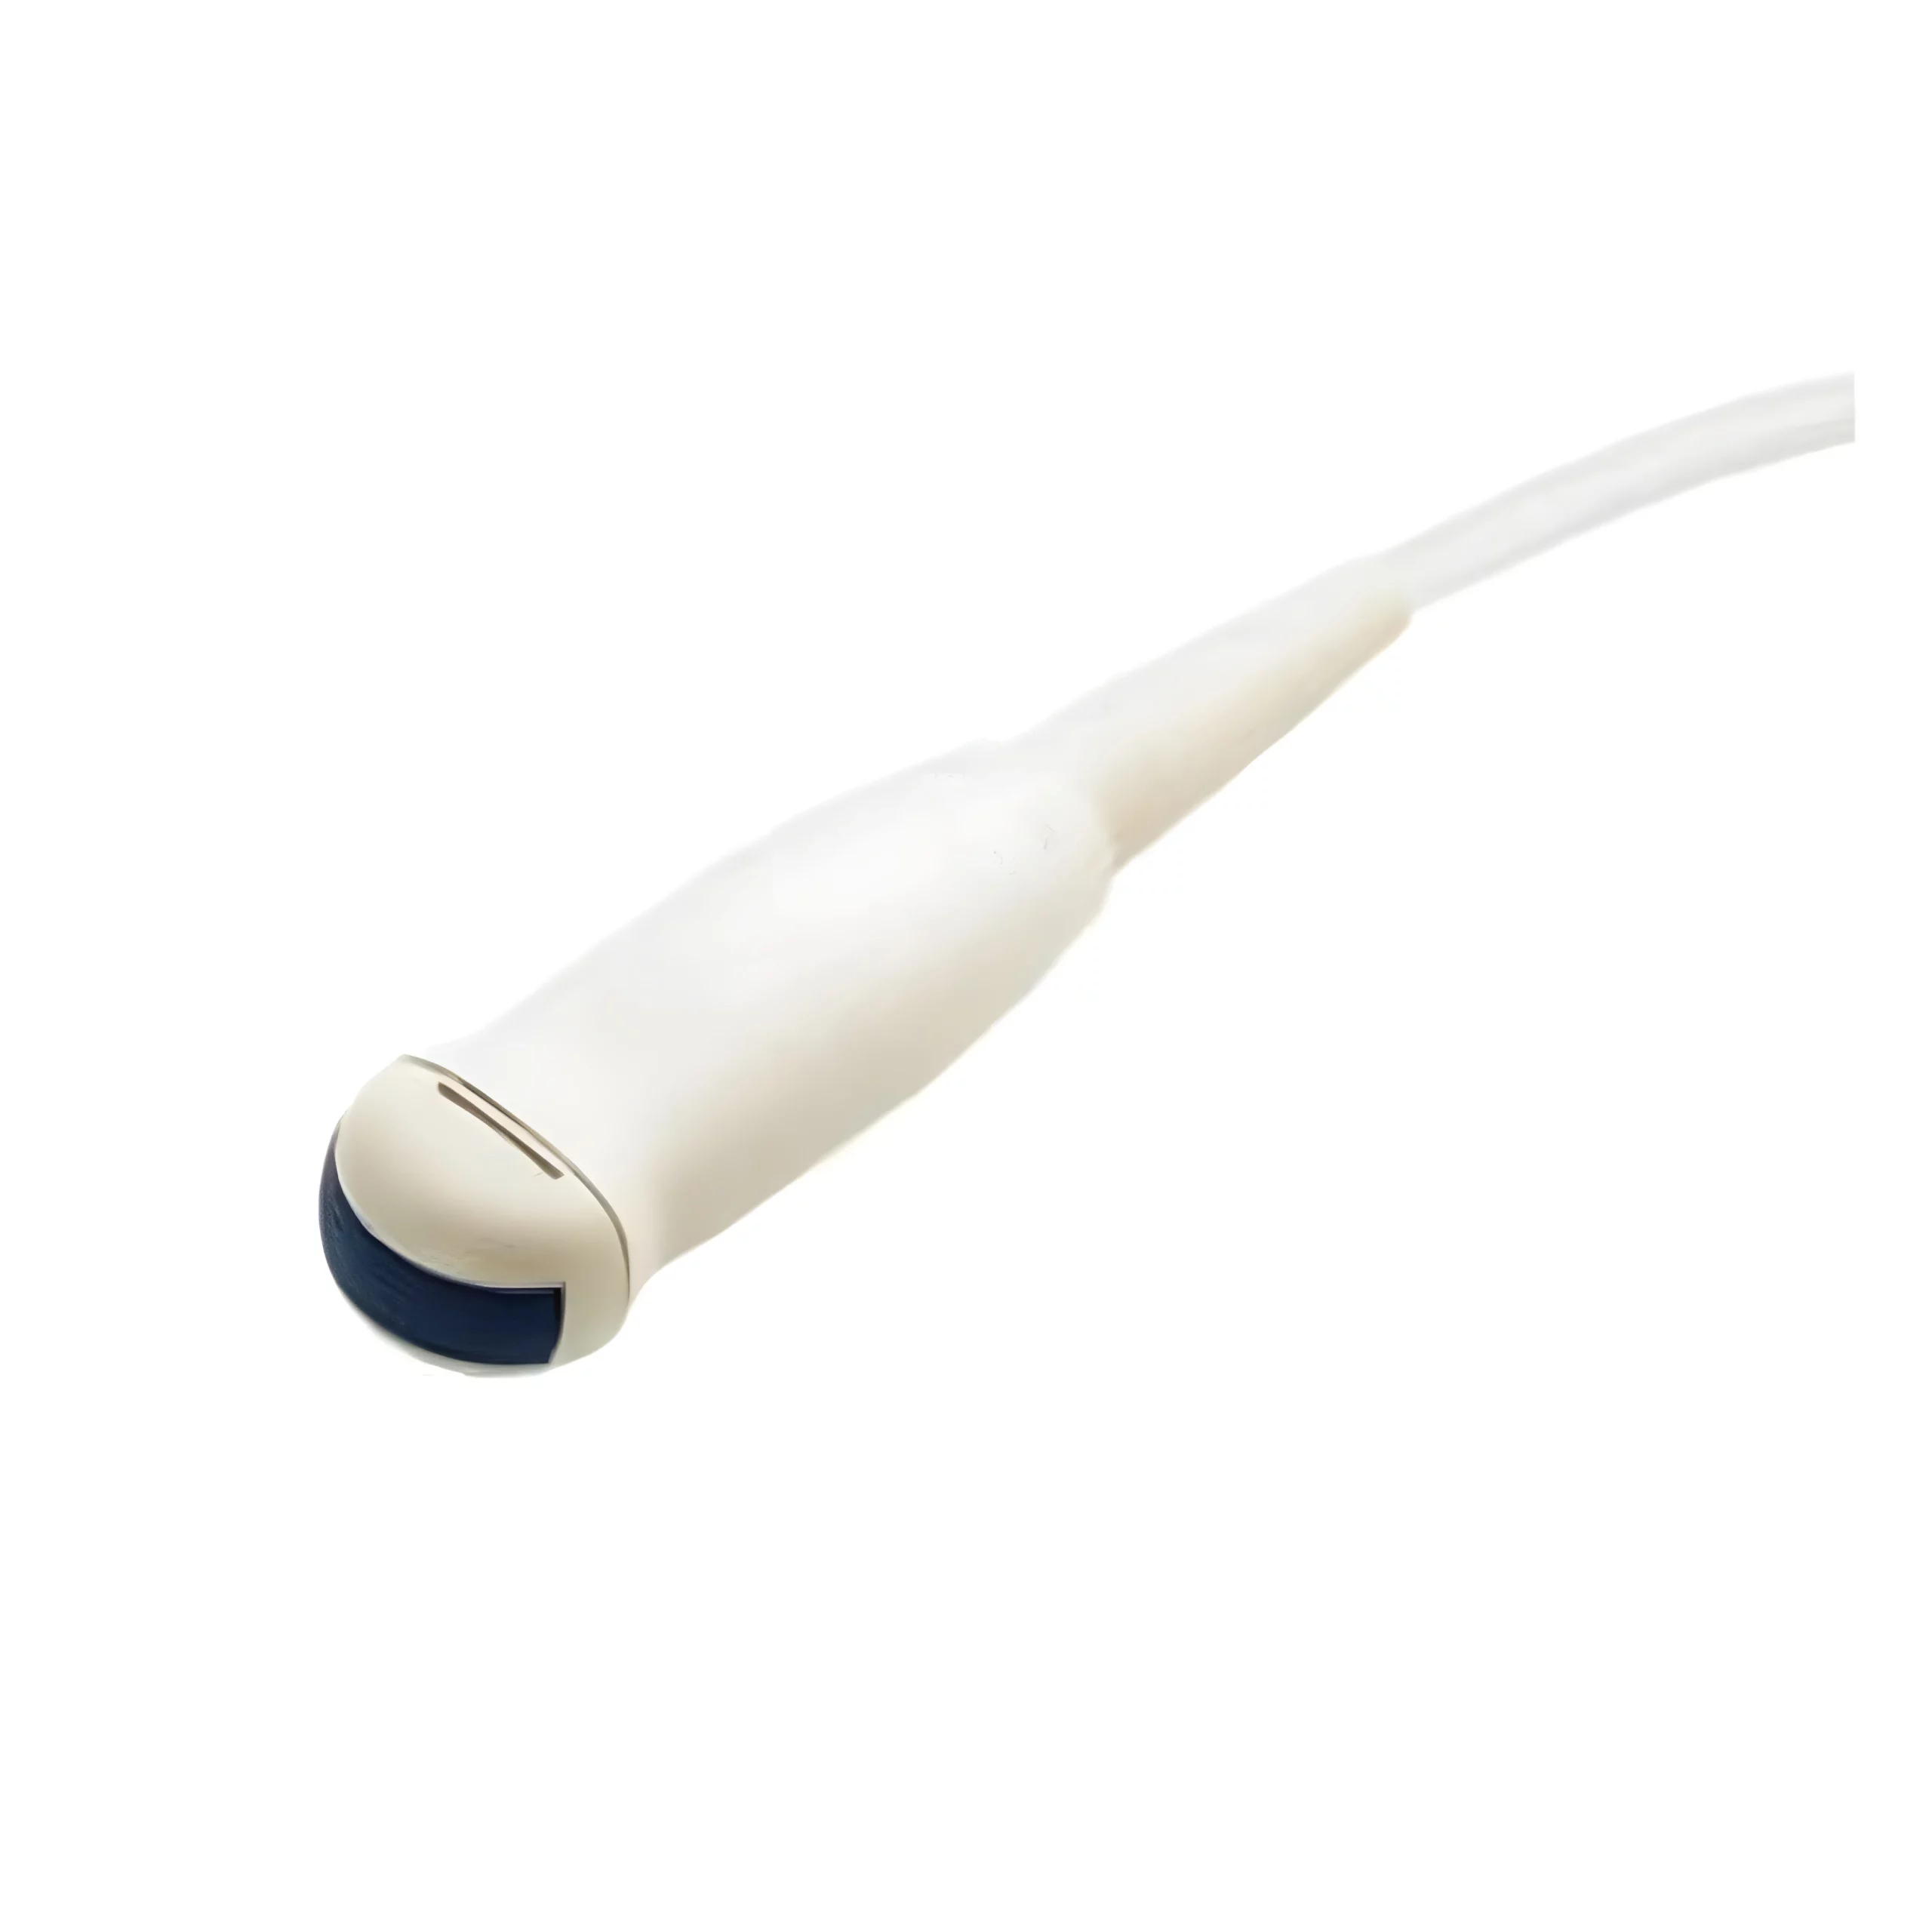
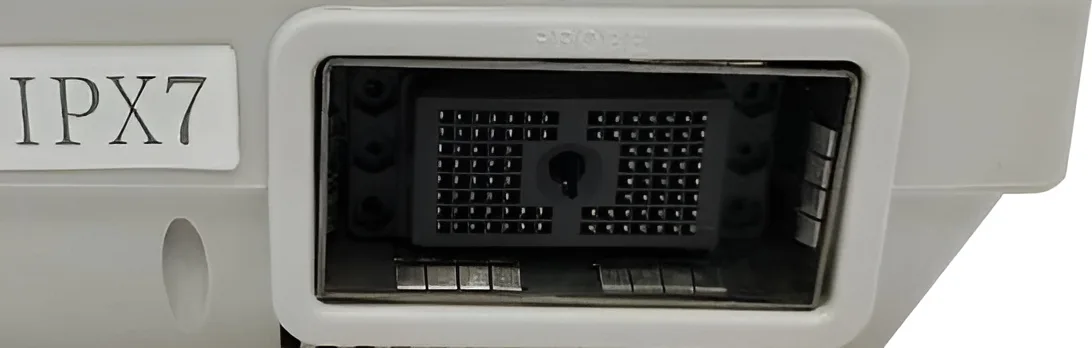
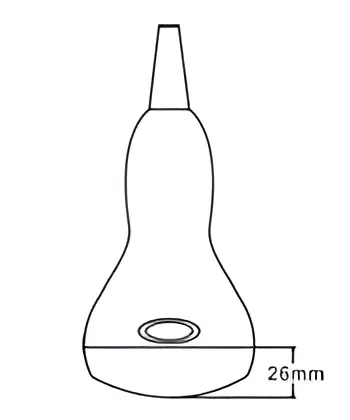
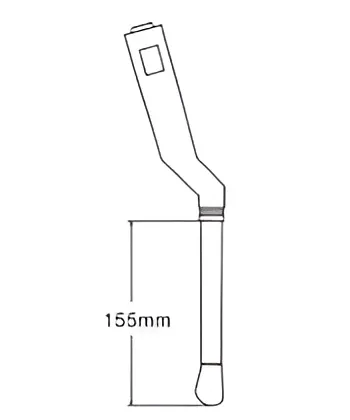
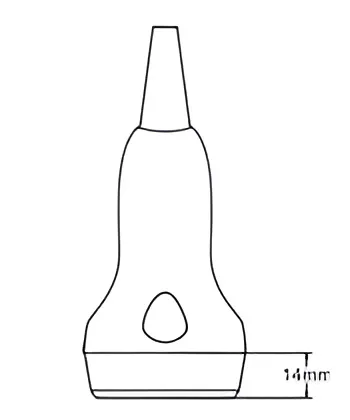
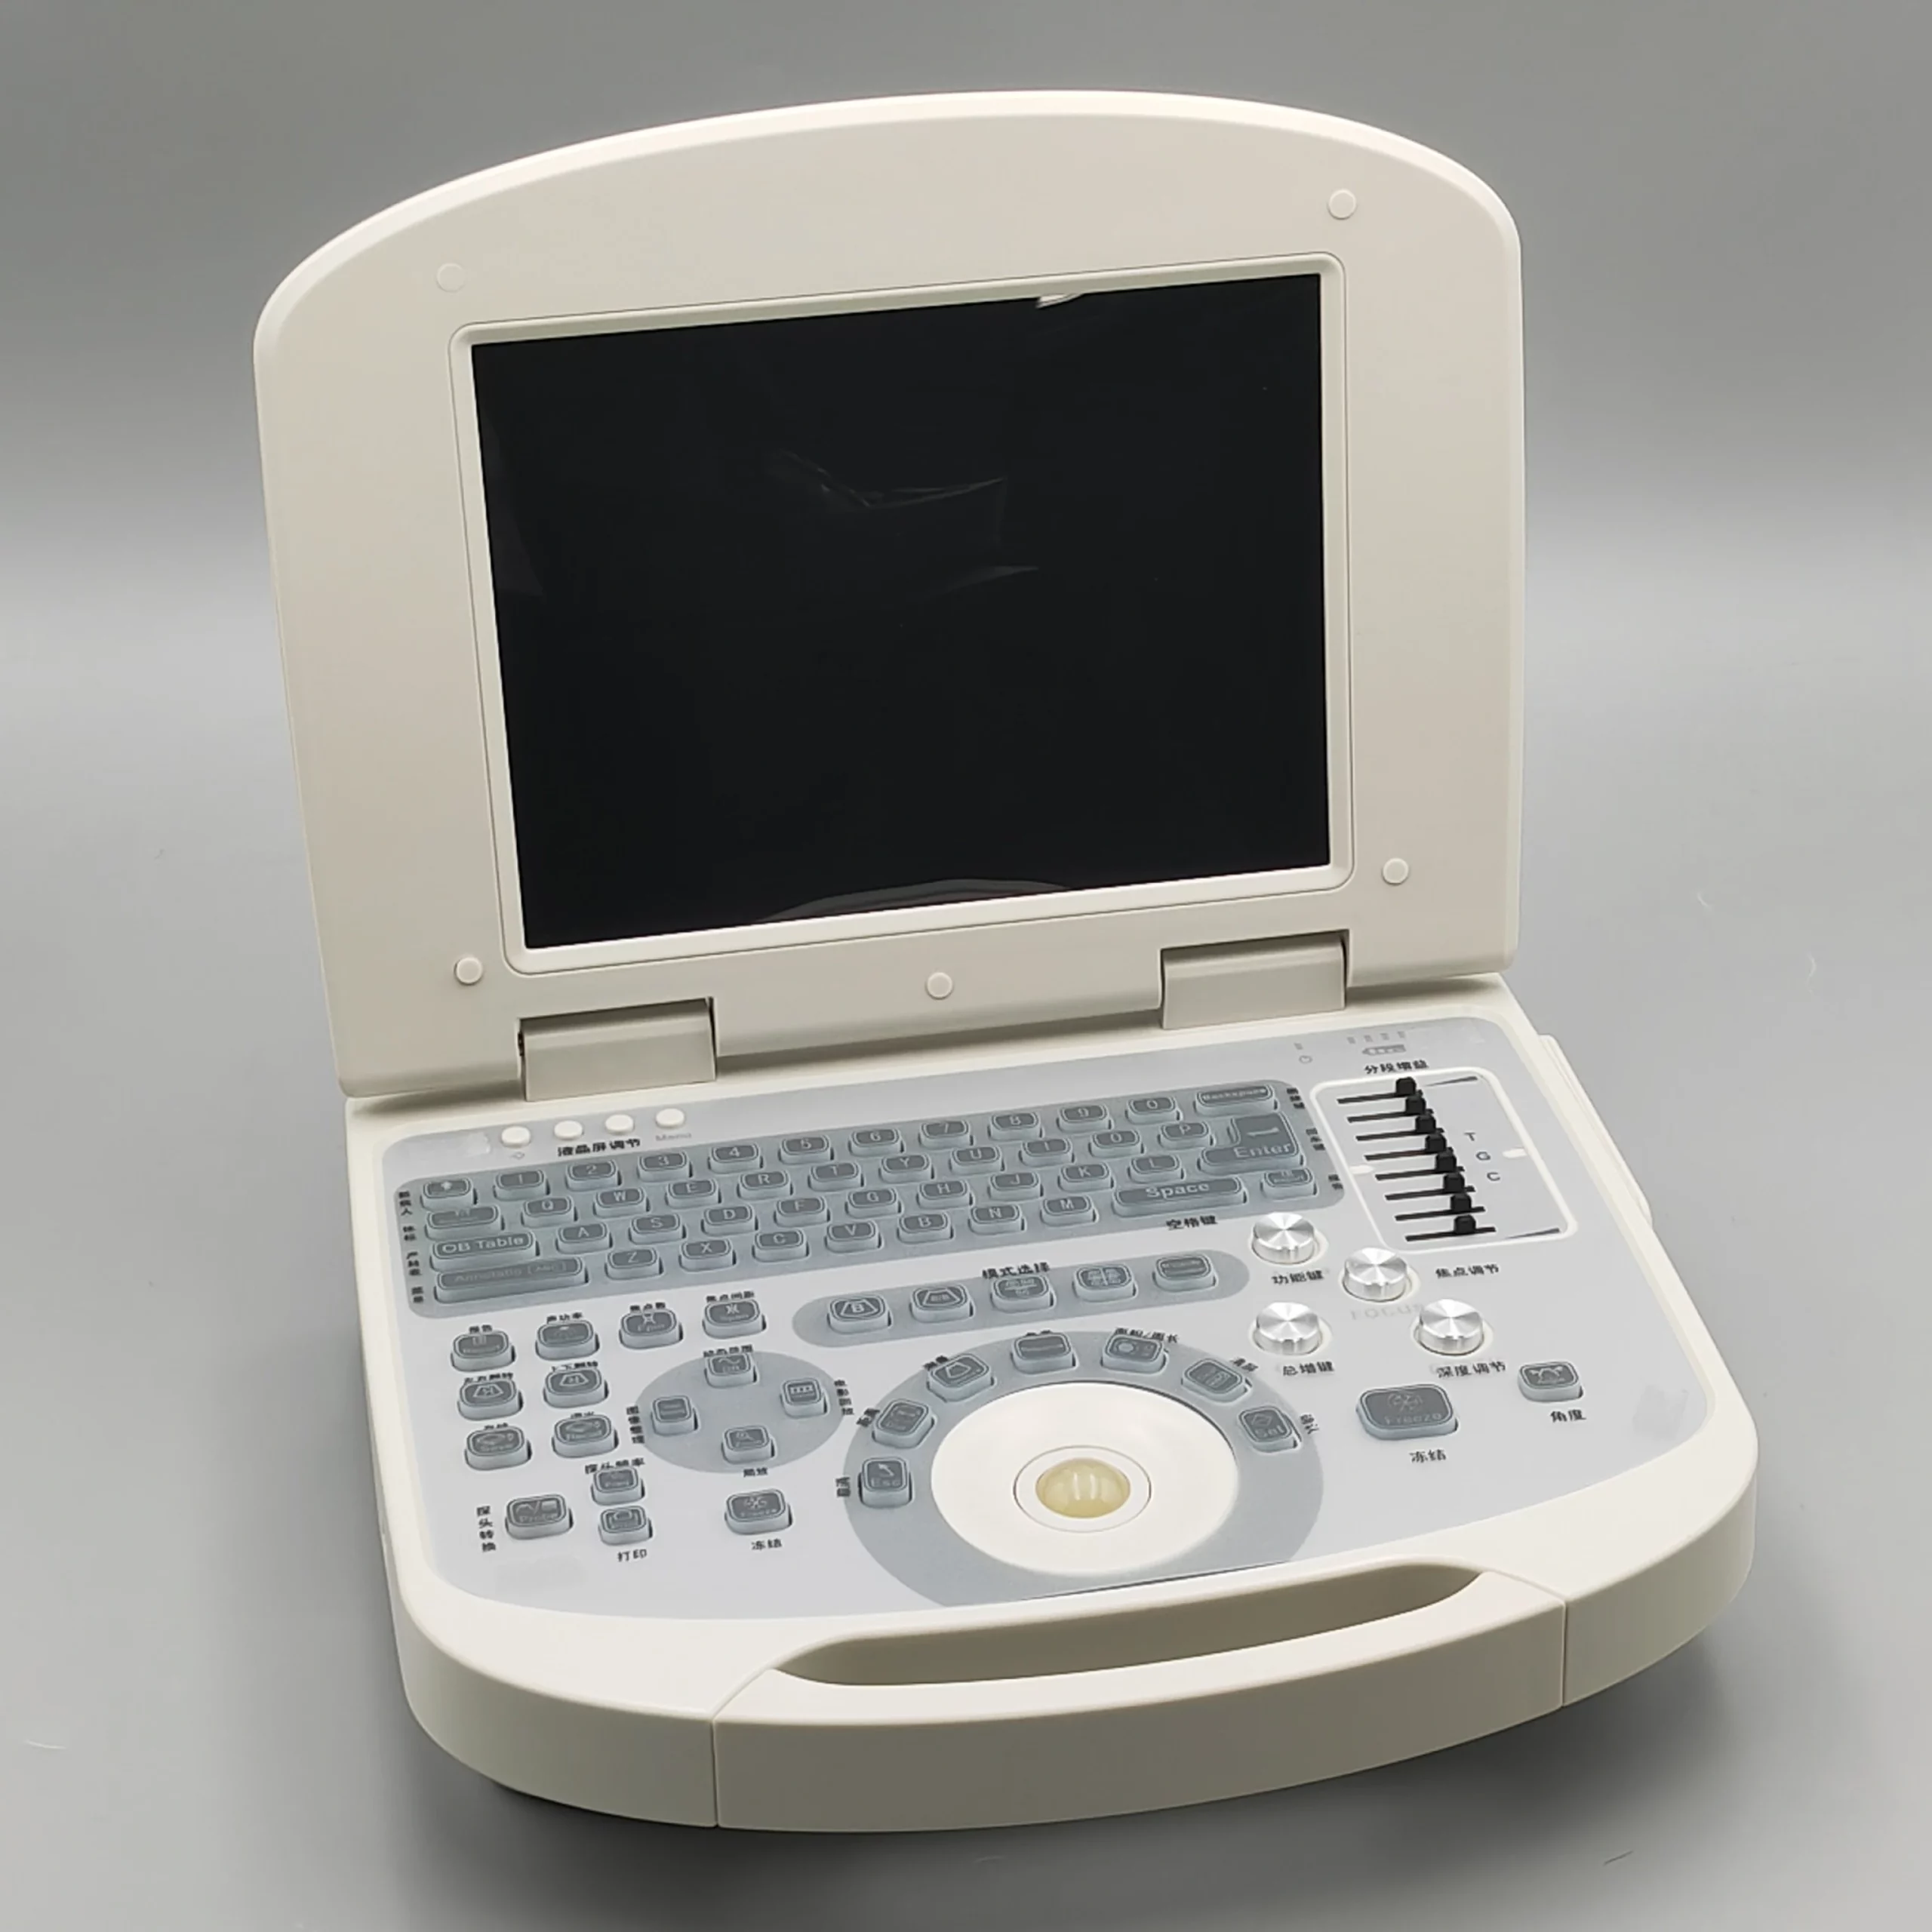
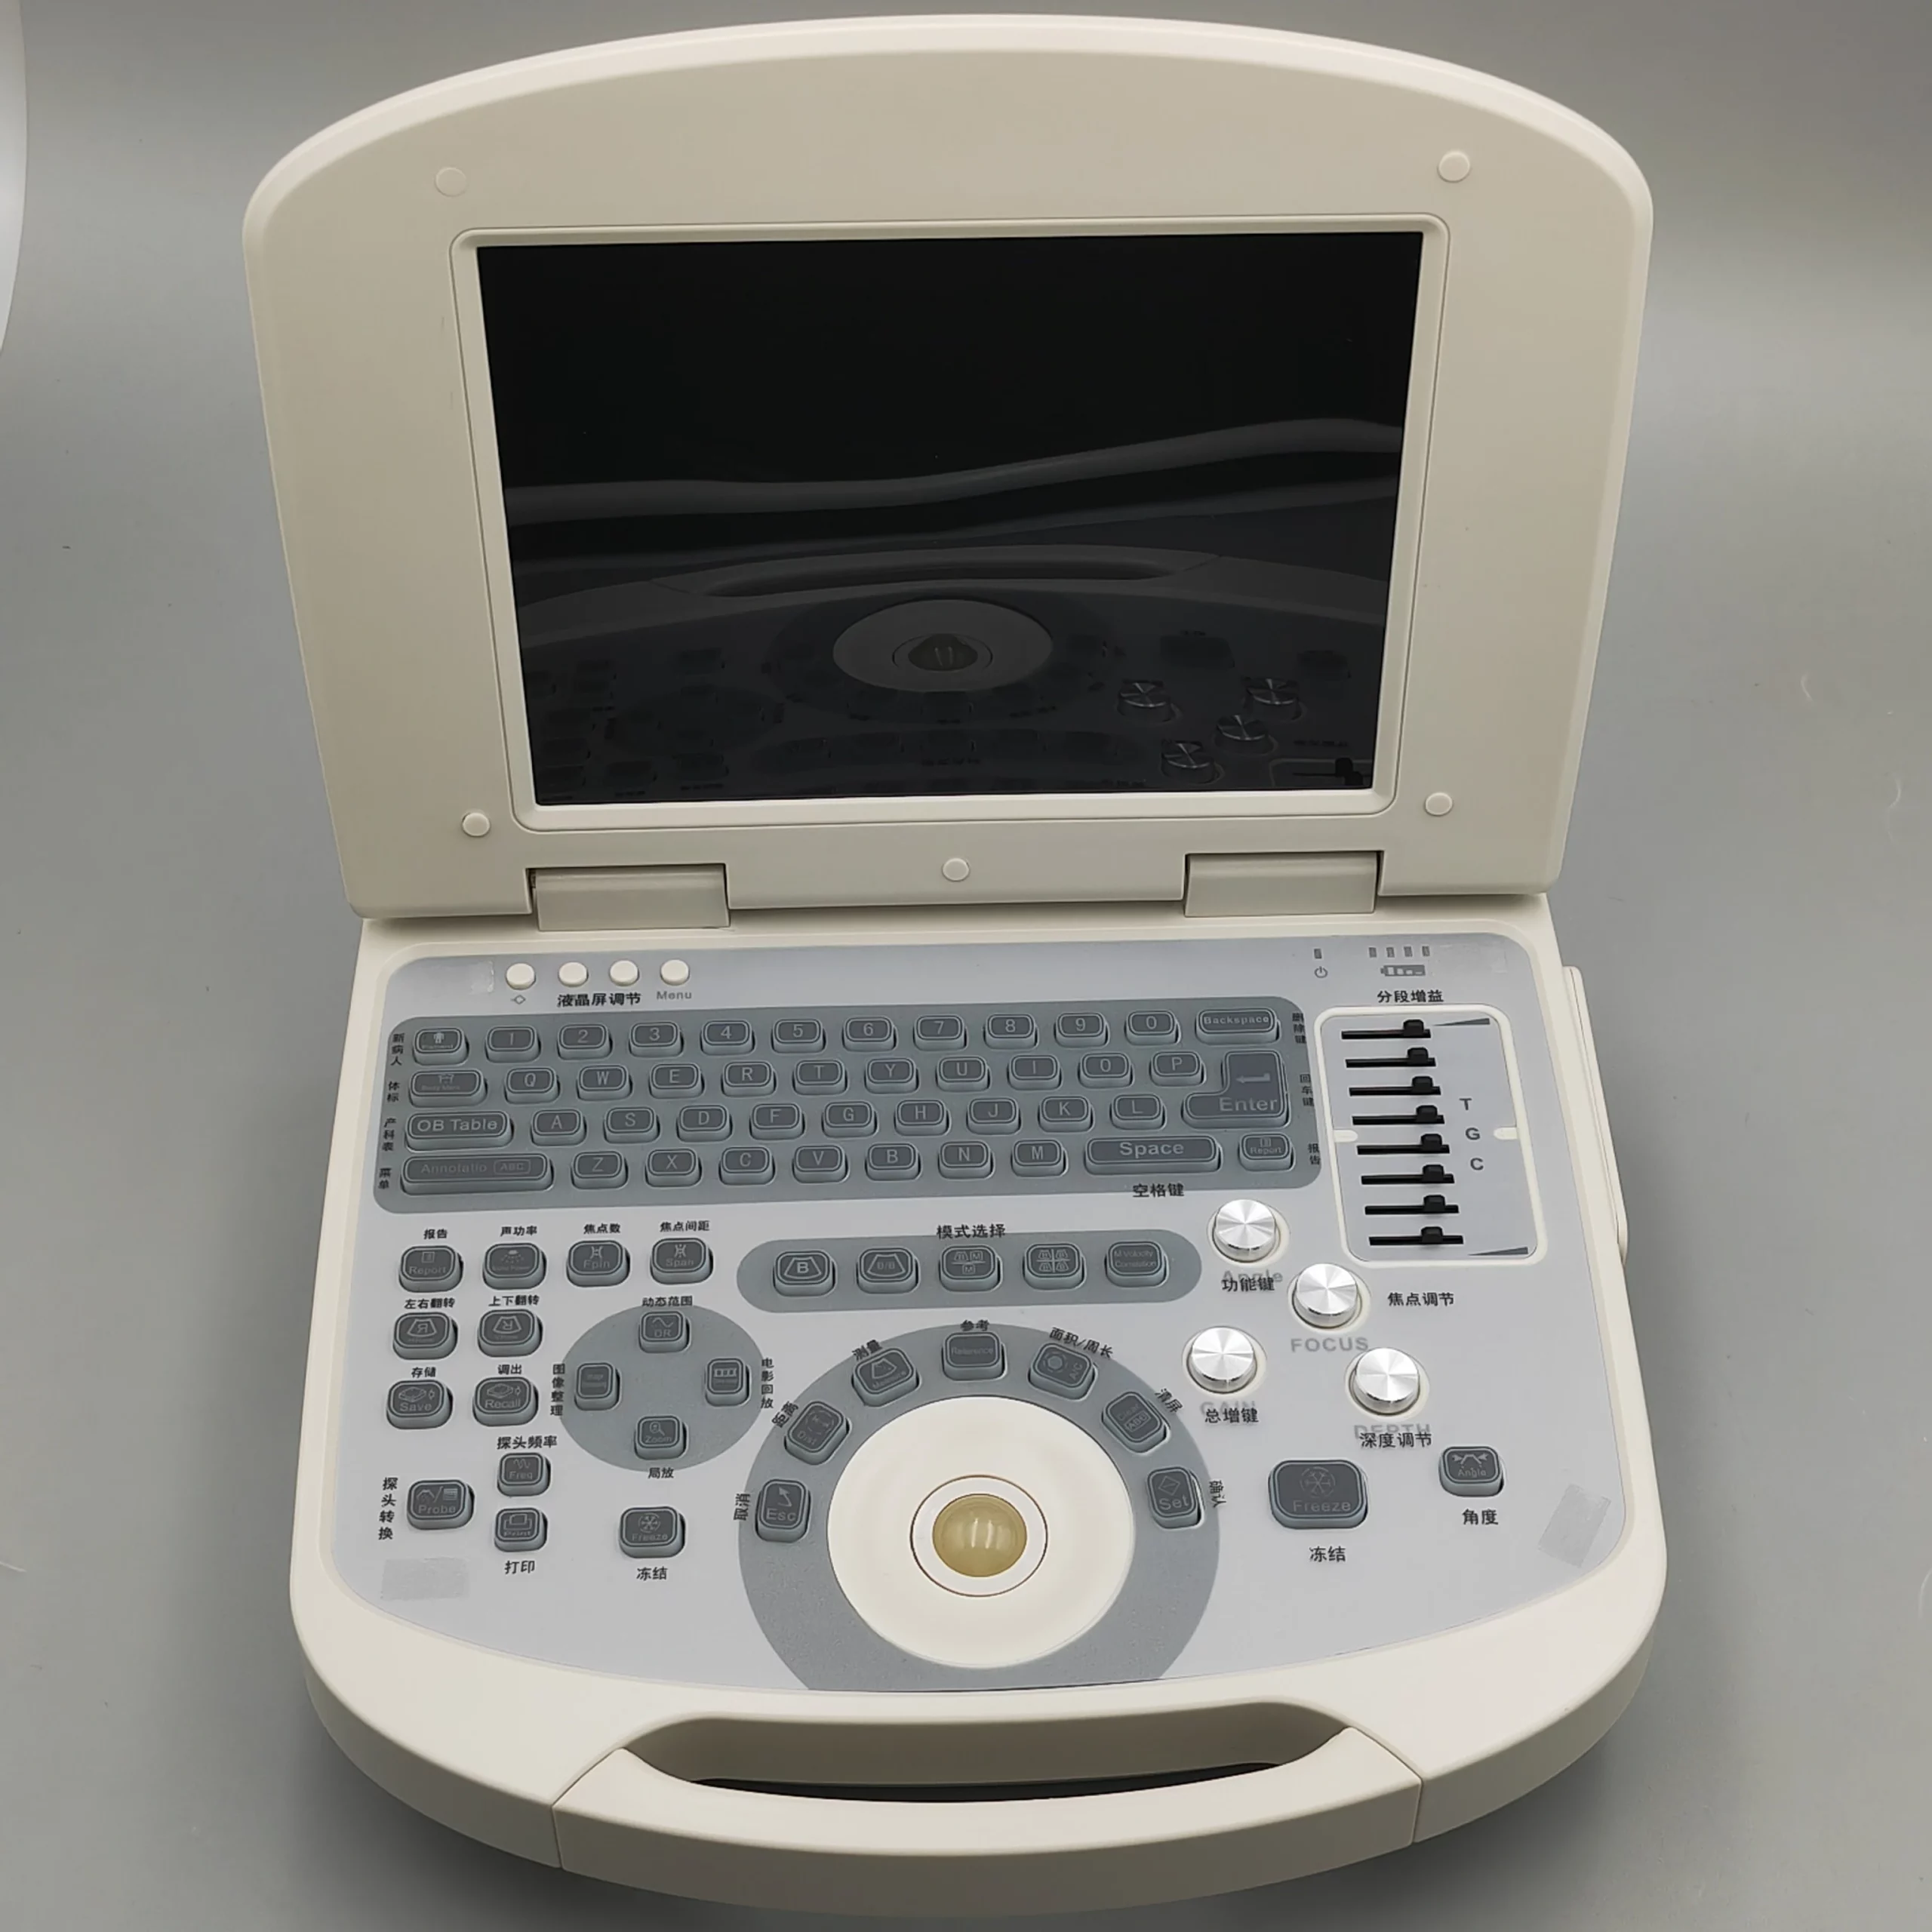
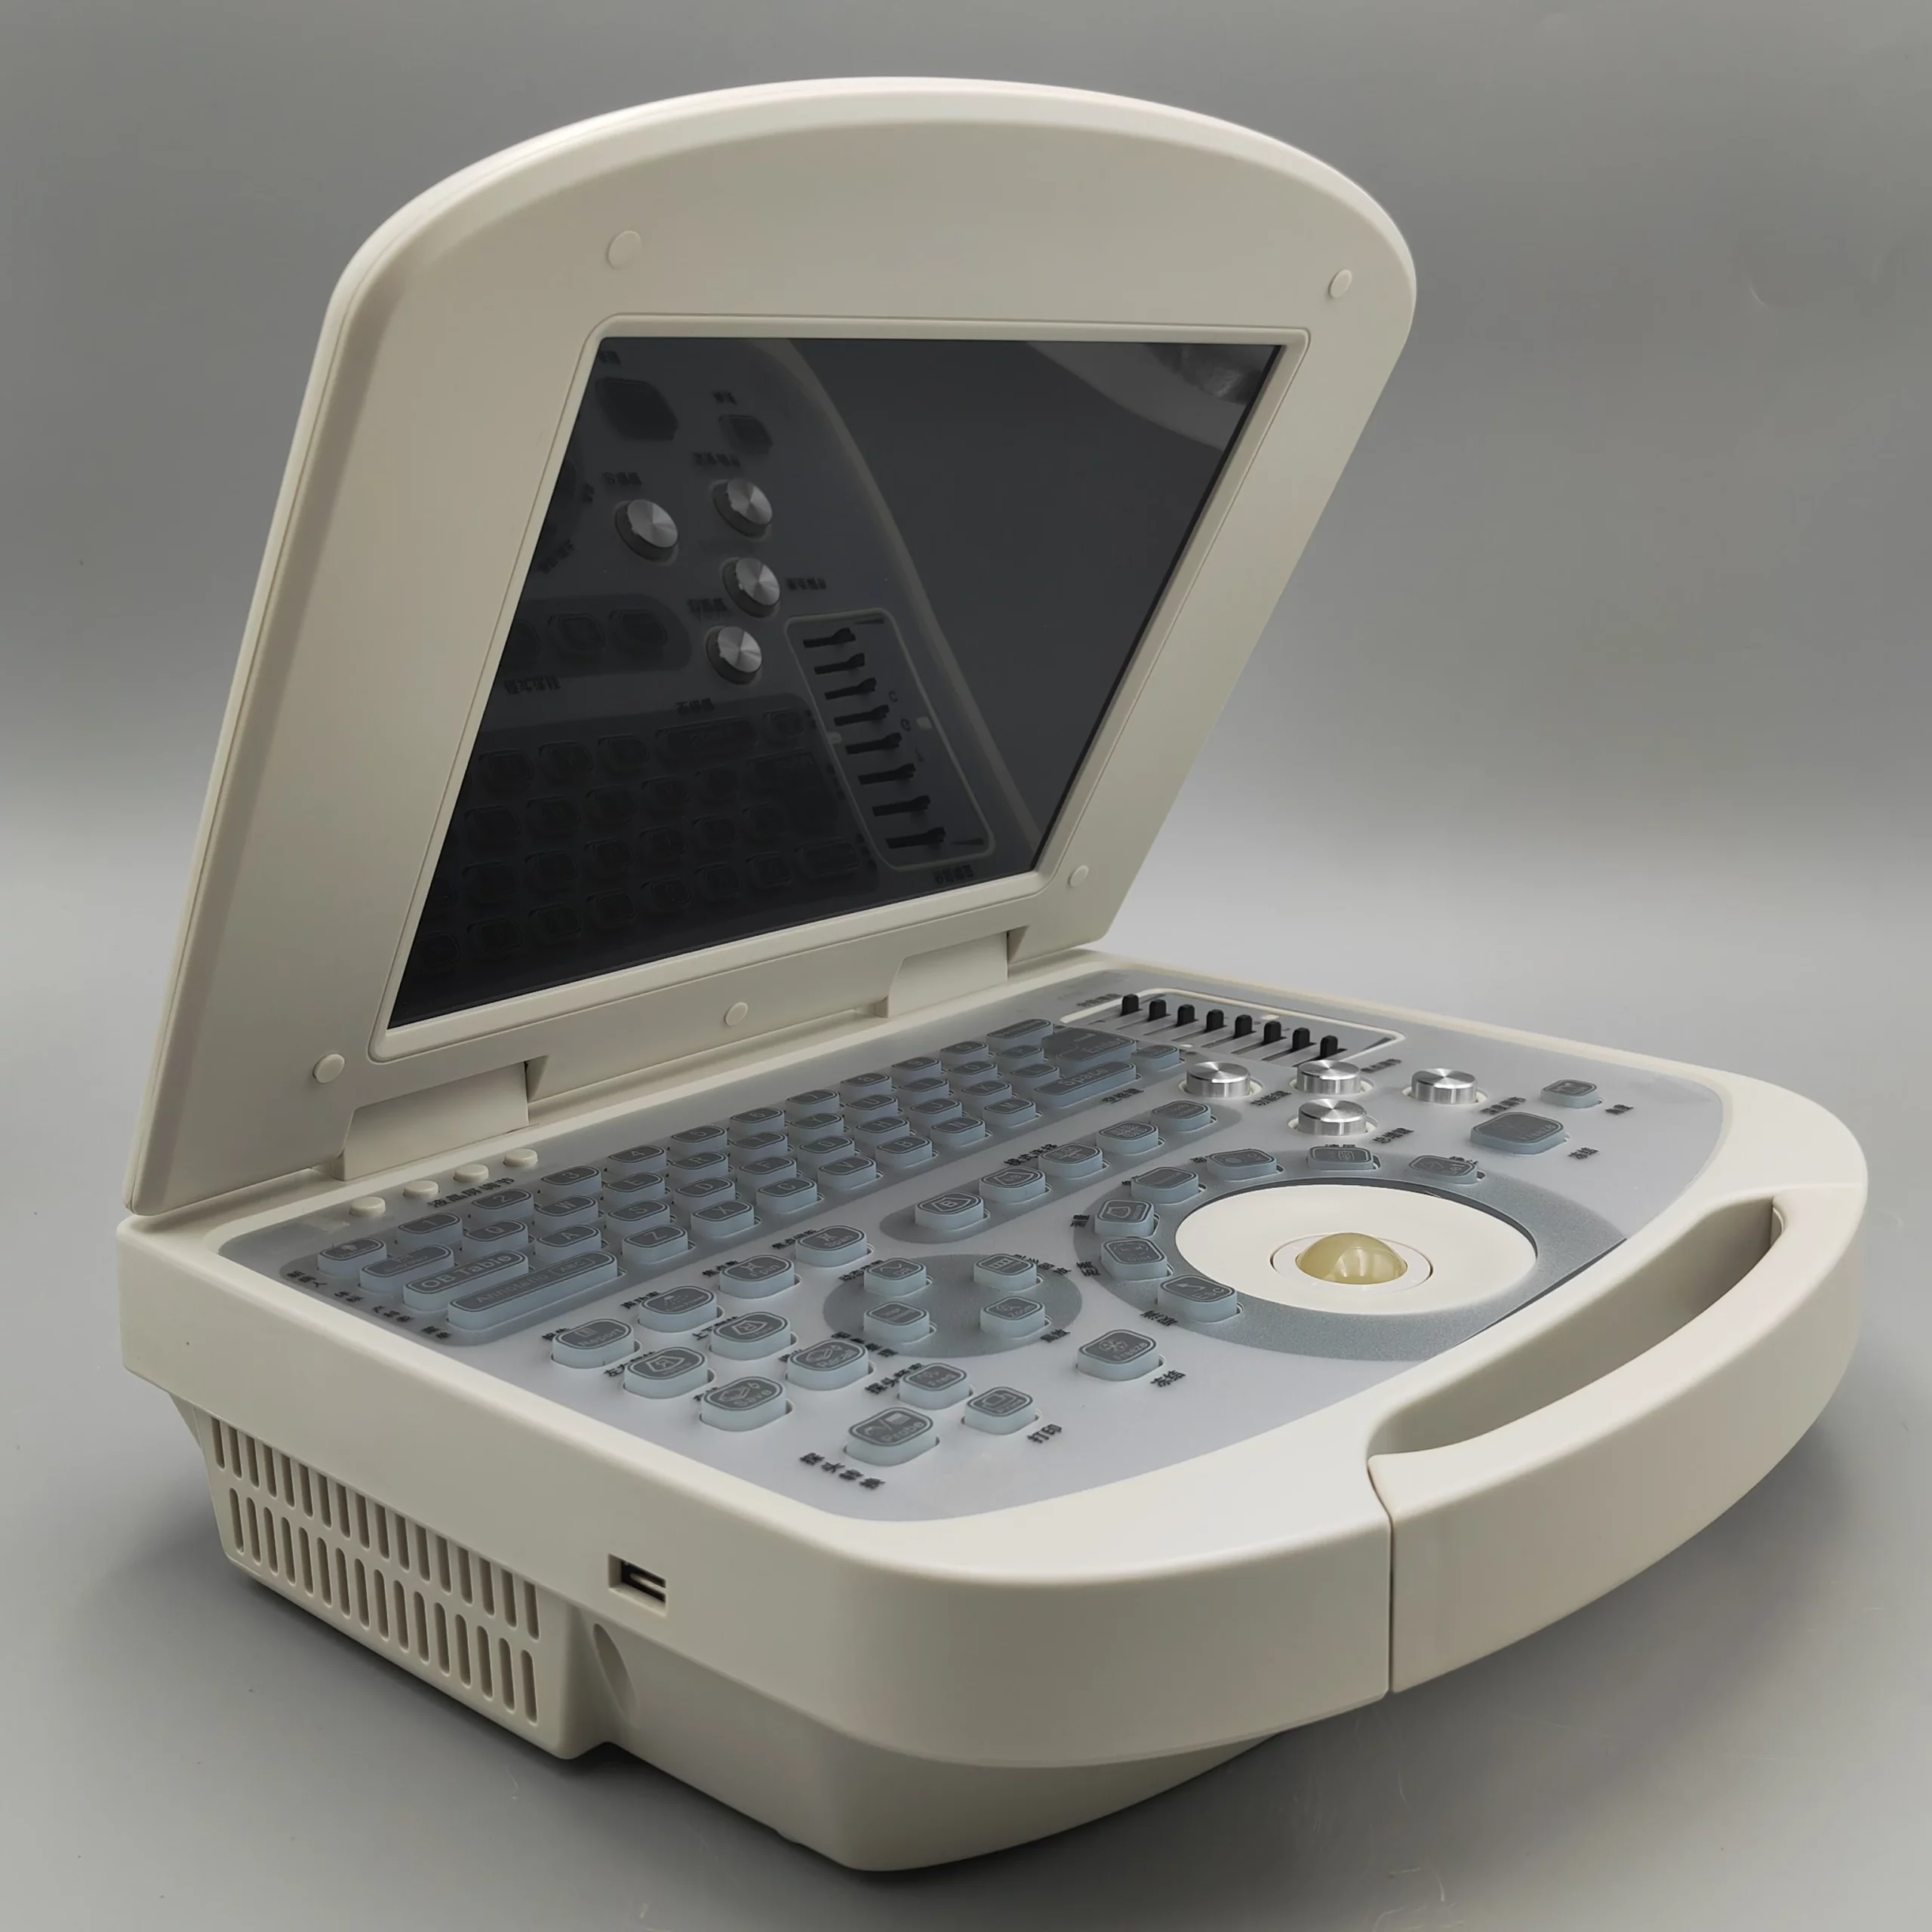
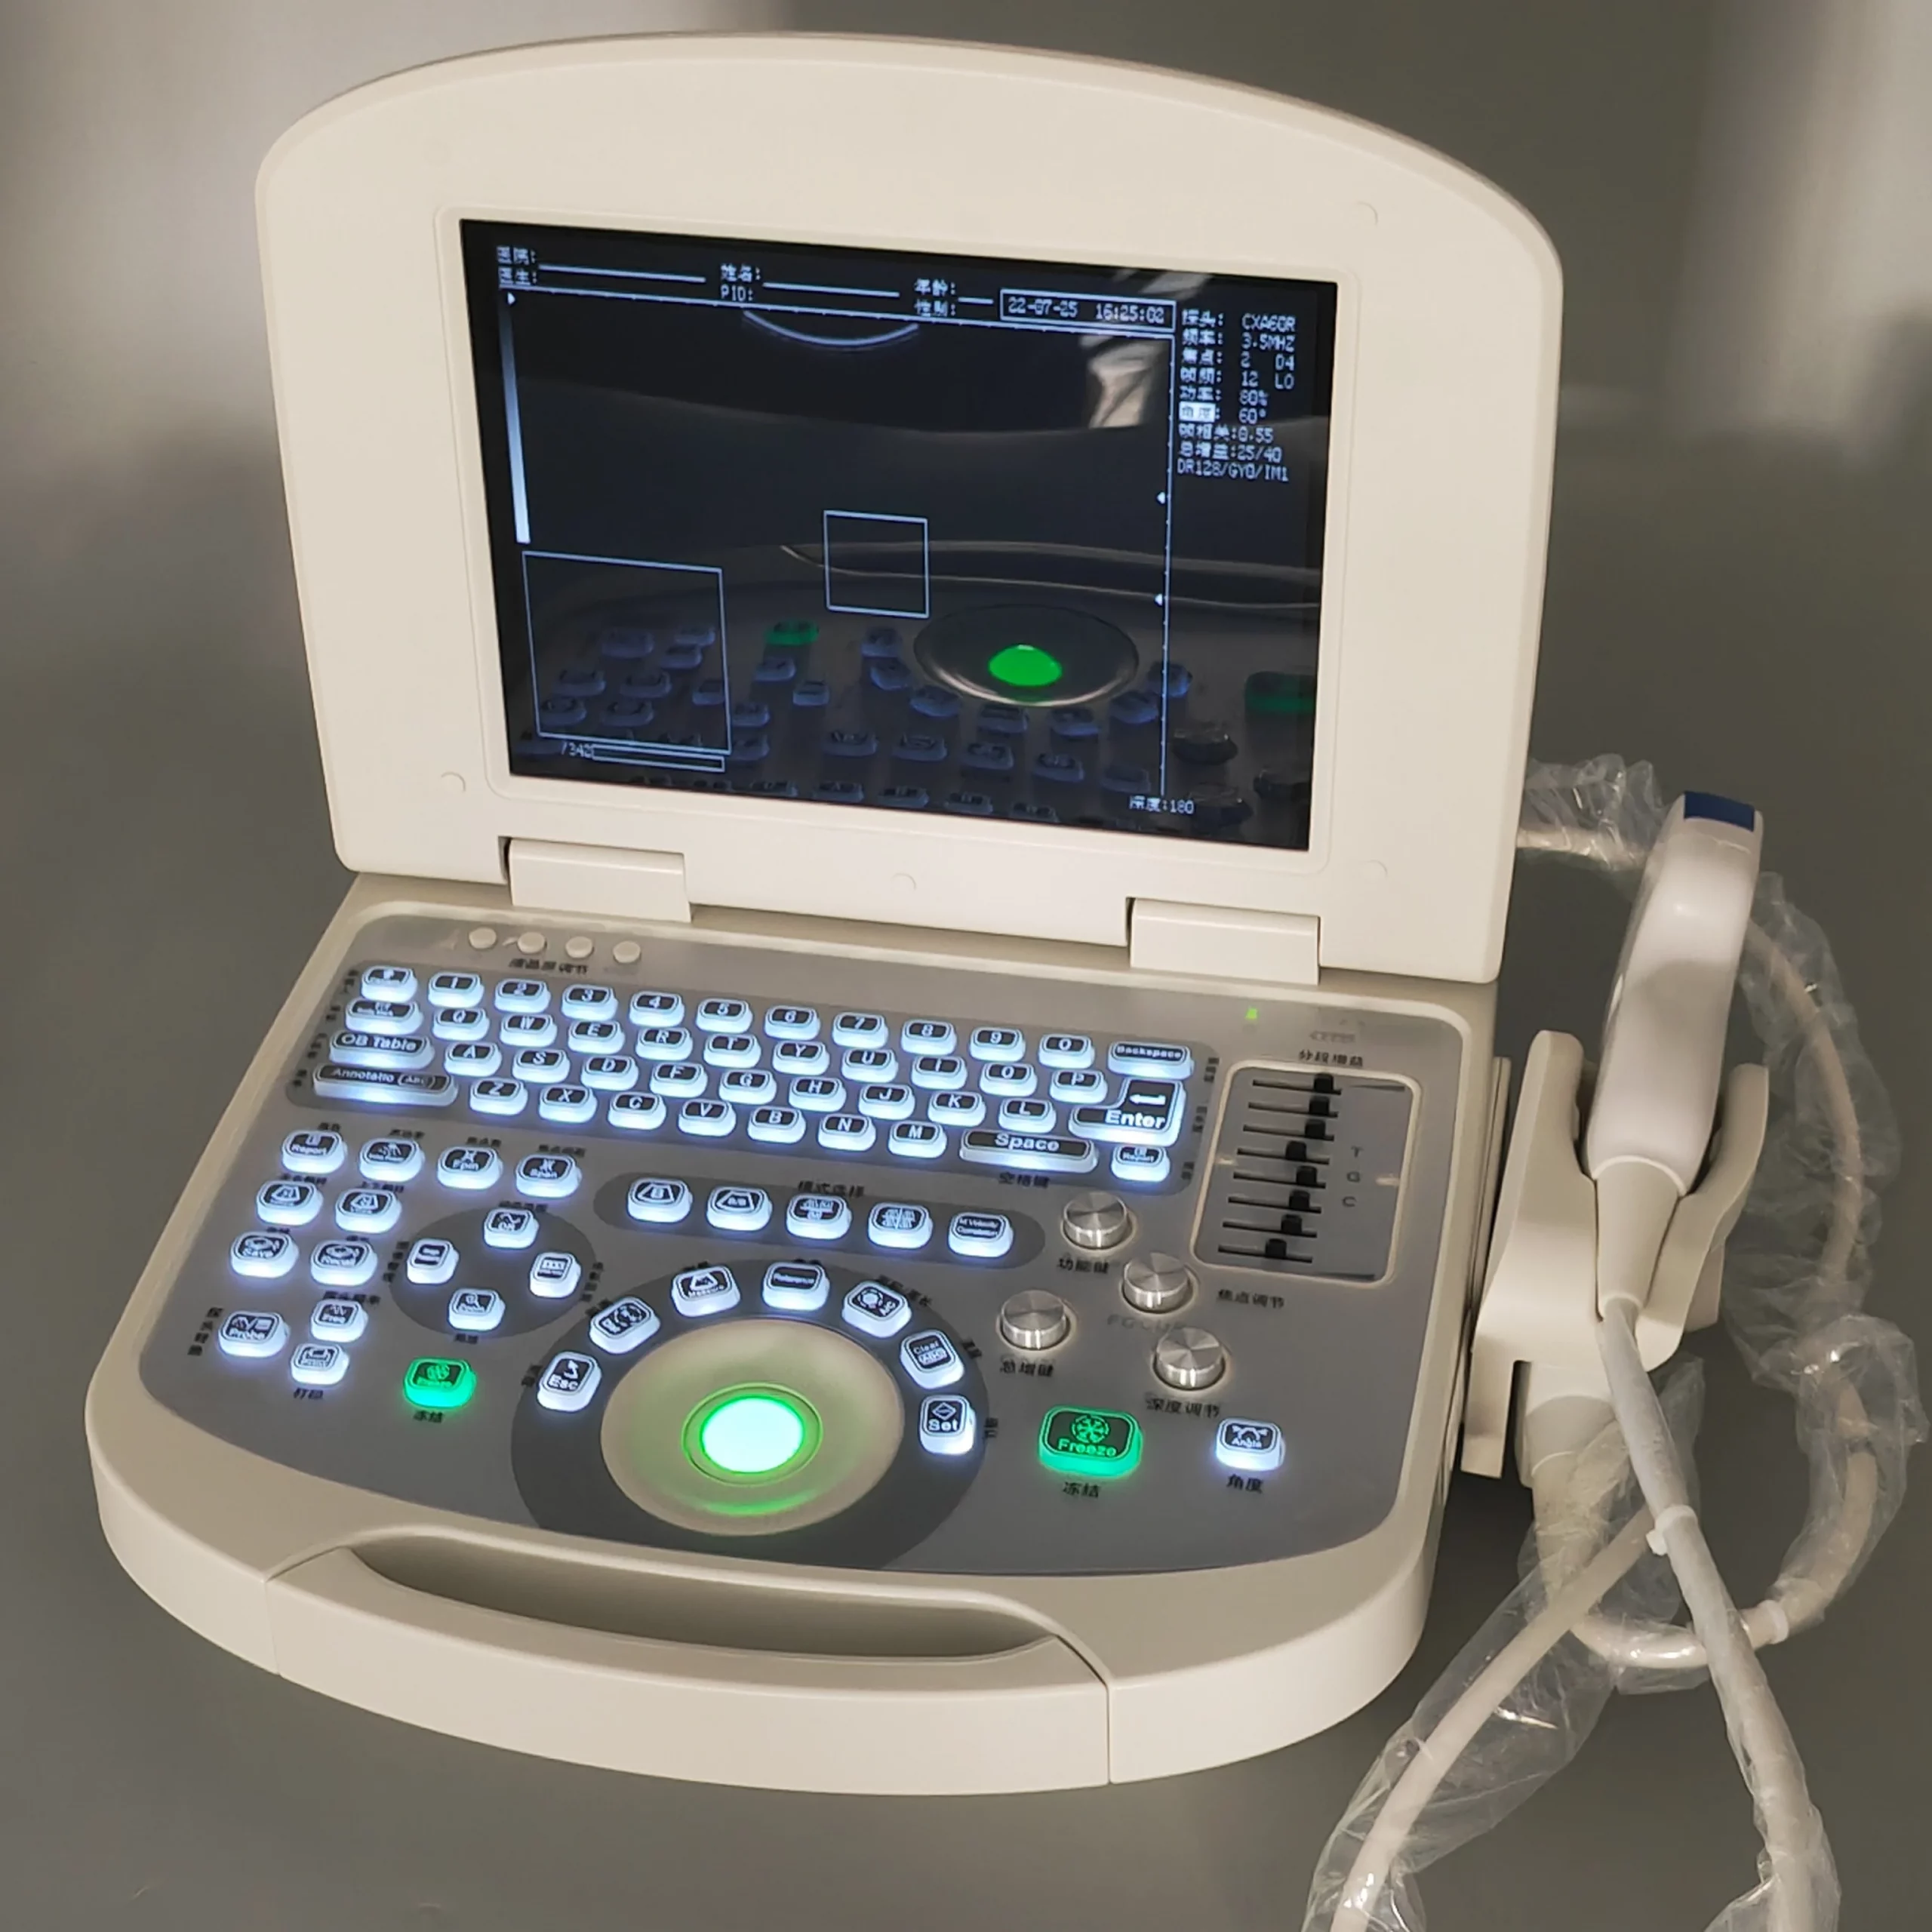
Specification
Screen size | 10.4 inches |
Display Mode | B, BB, 4B, B+M, B+M/M,M |
Image Grayscale | 256 |
Movie Loop | ≥500 frames |
Image Storage | 64 images |
Scan Depth | 0mm-240mm |
Battery life | 4 hours |
Peripheral Ports | USB port, VGA port, video port |
Image Processing | GAMA, image smoothing, THI, histogram, scaling |
Focus | Focus number, focus position, focus space |
Weight | 3.5 KG |
Size | 19.29 ×13.78 ×7.87 inches |
Packing List

Standard Accessories:
Main Unit × 1
Electronic Convex Array Probe × 1
Power Cord × 1
Lithium-ion Battery × 1
Couplant (250ml) × 1
Instruction Manual × 1
Factory Inspection Report × 1
Optional accessories:(If necessary, please contact customer service)
Microconvex probe
Intracavitary probe
High-frequency linear array probe
Rectal probe
Video printer
Split trolley
Abdominal probe holder
Product Features

High-resolution Imaging Technology
The new-generation 256-level grayscale HD engine, combined with an intelligent dynamic focusing system and digital beamforming technology, achieves ultra-fine resolution of 0.5mm, clearly demonstrating fine tissue features such as the three-layer structure of the gallbladder wall and 0.2mm microcalcifications. Its unique RDA real-time dynamic aperture technology and tissue harmonic imaging algorithm effectively eliminate artifacts, resulting in richer image layers and sharper boundaries, meeting hospitals’ stringent image quality requirements and providing a reliable basis for accurate diagnosis.

B

BB

B+M

B+M/M

M

4B
Multi-function Display Mode
B Mode: High-resolution, real-time imaging clearly displays tissue structure and lesion details.
B+B Dual Mode: Simultaneously compares live and frozen images for dynamic observation of lesion changes.
4B Quadrant Mode: Displays four sections simultaneously, improving scanning efficiency and diagnostic accuracy.
B+M Mode: Combines morphological and motion observation for evaluation of heart valves and vascular dynamics.
M Mode: Precisely measures temporal changes in moving organs (such as the heart) and quantifies functional indicators.
B+MM Dual-M Mode: Simultaneously tracks two sampling lines for comparative studies of complex motions.
Six modes can be switched with a single keystroke. Combined with intelligent parameter automatic optimization, a single device can complete the entire diagnostic process, from routine examinations to specialized evaluations, significantly improving clinical efficiency.

Portable Design
The highly portable design weighs only 3.5kg, making it easy to carry in one hand. Equipped with a portable handle, it offers a truly portable, on-the-go diagnosis and treatment experience. It features quick power-up and modular probe quick-release features to meet the needs of mobile healthcare.


Rich Probe Configuration
The system boasts powerful multi-probe adaptability, including a standard 3.5MHz convex array probe (FT-60R), as well as optional 5.0MHz micro-convex probes (WT-20R), 6.5MHz intracavitary probes (QT-13R), and 7.5MHz high-frequency linear array probes (XT-7.5MHz). Intelligent recognition technology enables quick, one-touch switching. The system automatically matches the optimal operating frequency for each probe (for example, a 3.5MHz probe supports three adjustable settings: 2.5/3.5/5.0MHz). This seamlessly meets the needs of a full range of examinations, including abdominal, cardiac, small organ, vascular, and obstetric examinations, truly realizing the clinical value of “one device for multiple uses.”

Flexible Storage
It supports direct storage via USB devices, instant report printing via medical printers, large-screen high-definition image output, and seamless computer data transmission, truly realizing a one-stop workflow of “examination-storage-output-sharing”, significantly improving diagnosis and treatment efficiency and collaboration convenience.

Humanized Keyboard Design
The layout adopts a “functional zoning” concept tailored to physicians’ operating habits: measurement shortcut keys (distance/circumference/volume) are clustered on the left, image processing keys (freeze/save/playback) are located on the right, and an ergonomic trackball controller is located in the center. A medical-grade anti-fouling coating, backlighting, and tactile feedback ensure precise blind operation even in stressful environments like emergency rooms, significantly reducing operator fatigue.

Low Noise Design
The main unit operates quietly, utilizing a transformer-free switching power supply and a highly integrated design to reduce mechanical vibration and electromagnetic noise. Utilizing Digital Beamforming (DBF) technology, the probe has no moving parts, resulting in virtually silent operation. The waterproof and noise-reducing design (IPX7) ensures a tight seal, eliminating any noise generated by contact with coupling agent.

Long Battery Life
Equipped with a high-performance intelligent battery system, utilizing military-grade lithium-ion cells and dynamic power management technology, the device charges from zero to full in just 2.5 hours. A single charge provides up to four hours of continuous scanning, meeting the needs of 8-10 routine examinations. The battery module utilizes intelligent charge and discharge protection circuitry to maintain stable output in extreme environments ranging from -20°C to 50°C. Combined with a precise remaining battery life prediction system (with an error of less than 3%), this device eliminates the need for worry-free mobile diagnosis and treatment.

Strict Security
Strictly adhering to international medical device safety standards (IEC 60601/GB 9706.1), the system utilizes intelligent acoustic energy management technology to monitor and automatically optimize output power in real time, ensuring that the Thermal Index (TI) and Mechanical Index (MI) remain within the safest range. Equipped with triple electrical isolation protection, an equipotential grounding system, and intelligent probe pressure sensing, it ensures high-definition imaging while providing a safer examination experience for sensitive individuals, such as pregnant women and children, truly achieving “zero-risk” diagnosis and treatment.
Application Scenarios

Hospital

Veterinary Hospital

Medical Teaching Institutions
Product Details
Work Interface Introduction
1.Ultrasound display area | Ultrasound image display area on the screen |
2.Current probe | Current probe code |
3.Frequency: 3.5MHz | Current operating frequency of the probe |
4.Current image adjustable parameters | Focus, frame rate, ultrasonic power, angle, frame correlation, total gain, etc. |
5.Freeze | Displays whether the image is frozen or unfrozen |
6.Depth | Current scan depth |
7. ***/341 | Current playback frames |
8. →/← | Probe scanning angle |
9.Character Annotation | Basic information (hospital, name, age, doctor, medical record number, gender) |
10.Current date | Current instrument date (once the image is frozen, the date here will stop at the data of the frozen image) |
11.Current clock | Current clock (once the image is frozen, the clock here will stop at the time of the frozen image) |

Operation Keyboard Introduction
4.1.1 Adjusting the brightness and contrast of the LCD display
4.1.2 Character keyboard and its function keys
Patient | New Patient Button |
Body Mark | Body position marker key(Press this button repeatedly to select different body position markers. There are 40 body position markers available.) |
OB Table | Obstetrics table key |
Annotation ABC | Menu key |
[0] … [9] | Number keys(1 moves left, 2 moves up, 3 moves down, 4 moves right, 0 controls the cursor speed) |
[A] … [Z] | Alphabet keys |
Backspace | Delete key |
Enter | Enter key |
Space | Spacebar |
Report | Report key(Select View Report) |
4.1.3 Display mode selection key
4.1.4 Function keys(Due to space limitations, please see the instructions for details.)
4.1.5 Knob Controller

3.5MHz Convex Array Probe Introduction
Number | Name | Function |
1 | Ultrasonic transmitting sound head | Its function is to convert electrical signals into ultrasonic signals and focus the sound beam in a predetermined direction. It can also receive ultrasonic signals and convert them into electrical signals. The lens on the probe surface is the acoustic lens; during the inspection, ultrasonic coupling agent is applied to the surface of the acoustic lens. |
2 | The ridges and grooves that match the biopsy holder | These ridges and grooves mate with the grooves and ridges on the biopsy holder, respectively, securing the biopsy holder. |
3 | Probe cable | Connect the probe to the ultrasound system. |
4 | Probe plug | Insert the probe into the probe slot of the ultrasound system and connect the probe to the ultrasound system. |
5 | Locking knob | Tighten the probe plug to the ultrasound system. |

The B-ultrasound probe interface adopts a multi-pin rectangular slot structure with a regular shape. Through this design, it can stably realize the physical connection, signal transmission and power supply between the probe and the host, ensuring the smooth process of ultrasound signal acquisition and processing.

Insert the probe

Locking probe
After the probe is inserted into the interface, it needs to be tightened clockwise.If you remove the probe, the opposite is true.

The sides are equipped with heat dissipation holes, arranged in a regular, long array across the body, creating a dense and orderly pattern. Heat generated by the internal electronic components during operation is dissipated through these holes by airflow, balancing the internal and external temperatures of the device and preventing overheating from damaging components and interfering with ultrasonic signal processing.
How to Use?
1. Connect the power cord. The power indicator on the back of the console will turn red, indicating the device is in standby mode.
2. Turn on the power switch on the left rear of the device. Press the switch to start the device. The power indicator will turn green, and the device will begin a self-test.
3. After the self-test is complete, the device will boot successfully and enter real-time scanning mode.
4. To shut down the device, press the power button. After about 30 seconds, the device will enter standby mode and the power indicator will turn orange. Then, turn off the power switch on the left rear of the device. This completes the system shutdown.
Compatible Probes Introduction

Probe model:FT-60R/3.5MHz convex array probe(Standard model, if you need other probes, please contact customer service)
Operating frequency:2.5MHz、3.5MHz、5.0MHz
Angle range:35º~60º
Scan Depth:90~250mm
Applicable parts:Abdomen, Cardiology, Obstetrics, Pediatrics

Probe model:QT-13R/6.5MHzXT-7.5MHz Intracavity Probe
Operating frequency:5.5MHz、6.5MHz、7.5MHz
Angle range: 60º~120º
Scan Depth: 50~120mm
Applicable parts:Examination of body cavities such as the rectum and vagina

Probe model:XT-7.5MHz High Frequency Linear Array Probe
Operating frequency:6.5MHz、7.5MHz、8.5MHz
Angle range:No angle adjustment
Scan Depth:40~105mm
Applicable parts:Small organs, blood vessels, fetus

Probe model:WT-20R/5.0MHz Micro-convex probe
Operating frequency:4.5MHz、5.0MHz、5.5MHz
Angle range: 45º~90º
Scan Depth:80~150mm
Applicable parts:Neck blood vessels, abdomen, brain, and chest
Battery Installation and Charging


Charging Instructions:
a.Plug the adapter’s DC output plug into the power port on the side of the console.
b.Connect the other end of the adapter’s power cord to an external power source.
c.Whether the console is powered on or off, the battery indicator in the upper right corner of the console will light up, indicating that the adapter is charging the battery. When the indicator flashes and then turns solid, the battery is fully charged.
Note:The instrument is equipped with a rechargeable lithium-ion battery. A new battery must go through two or three cycles of full charge and discharge (normal use, not forced discharge) to achieve optimal performance.
How to Connect External Devices?
1. USB Storage Connection: Automatically recognize a USB drive upon insertion. Press the [Print] button to save DICOM images. Supports FAT32/exFAT formats and is compatible with storage devices up to 2TB.
2. Printer Connection: Connect to a medical thermal printer via the standard video cable (PAL-D interface). Freeze the image and press the [Print] button to print directly. Adjustable print layout is supported.
3. Large Screen Expansion: Use the video output interface (supports 1080P) to connect to a monitor/projector for real-time simultaneous scanning, ideal for consultation and teaching scenarios.
4. Computer Data Transfer: Connect to a computer via the RS-232 serial port or USB adapter cable. Software installation is required. Supports DICOM 3.0 standard protocol.
(All interfaces are fool-proof and clearly labeled. The system automatically identifies the device type upon connection, eliminating complex setup.)
Product Photos


Certified

CE

FDA
FAQ
This product typically has a lifespan of six years. However, the raw materials that make up the product will gradually age over time. Continued use beyond its lifespan may result in performance degradation and a significantly increased failure rate.
1. Ambient temperature: 0°C to +40°C;
2. Relative humidity: ≤80%;
3. Atmospheric pressure: 700kPa to 1060kPa;
4. Keep the device away from equipment with strong electric and magnetic fields, high-voltage devices, and avoid direct sunlight on the display. Shade the room to facilitate image observation, maintain ventilation, and protect from moisture and dust.
To clean the device’s exterior, turn off the device and wipe any dust from the exterior with a soft, dry cloth. Then, gently wipe with a cotton ball soaked in 75% medical alcohol. To clean the interior of the device, turn it off, open the exterior, and use a hair dryer to remove dust.
When the device is not in use for an extended period, place it in its packaging according to the directions marked on the packaging and store it securely in a warehouse. The storage environment must comply with the “Transportation and Storage Environment Requirements.”
The probe is a valuable and fragile component and should not be dropped or impacted. When pausing a diagnosis, place it in the probe case and freeze the instrument.
Medical ultrasound coupling gel should be used during diagnosis. The probe has an IPX7 waterproof rating and should not be immersed in water above the probe tip. Regularly inspect the probe housing for cracks to prevent liquid damage to internal components.
The probe is in direct contact with the patient and should be disinfected after each use to prevent bacterial contamination.
Once the probe is connected to the main unit, it must not be disassembled at will to prevent poor contact between the probe plug and socket.
1. Batteries can be charged and discharged hundreds of times, but they will still wear out. If you notice a significant decrease in battery life, replace them promptly.
2. To prevent battery failure, charge and discharge the battery every three months.
3. Extreme temperatures (extremely cold or hot) can affect battery charging performance. Do not charge the battery near fire or extreme heat! Do not use or store the battery near a heat source (such as a fire or heater)! If the battery leaks or emits an odor, immediately remove it from the flame.
4. Do not continue to use a damaged battery or charger.
5. Do not short-circuit the battery.
6. Do not dispose of the battery in fire or heat it, as this may cause an explosion. Do not place the battery in a microwave or pressure container.
7. Do not submerge the battery in water or allow it to get wet.
8. Do not connect the battery directly to a wall outlet or vehicle cigarette lighter socket.
9. Do not short-circuit the positive and negative terminals of the battery with wires or other metal objects. Do not transport or store batteries with necklaces, hairpins, or other metal objects.
10. Do not pierce the battery casing with nails or other sharp objects, and do not hammer or step on the battery.
11. Do not hit, throw, or subject the battery to mechanical vibration.
12. Do not directly solder the battery terminals.
13. Do not use the battery with primary batteries (such as dry cells) or batteries of different capacities, models, or types.
14. Do not use the battery if it emits an odor, becomes hot, deforms, changes color, or exhibits any other abnormality. If the battery is in use or charging, immediately remove it from the appliance or charger and stop using it.
15. Please dispose of used batteries in accordance with local regulations for proper waste disposal.
1.If the equipment has been stored for more than six months, remove it from the packaging, power it on for four hours, and then repack it into the box in the orientation indicated on the packaging and place it in the warehouse. Do not stack the equipment or place it close to the floor, walls, or ceiling.
2.Ensure the room is well ventilated and protected from strong sunlight and corrosive gases.
Reviews
There are no reviews yet.